View online course
Once you have created your courses it is important to have an insight into what your clients see. These previews are also helpful for you to see if your course looks the way you would like it to look. So let’s get into it!
What your unsubscribed clients see
There is a difference in what the clients that bought the course, and those that didn’t, see when they view your course.
To see how it looks, go into your Online Courses app, and press the “Overview of online courses”

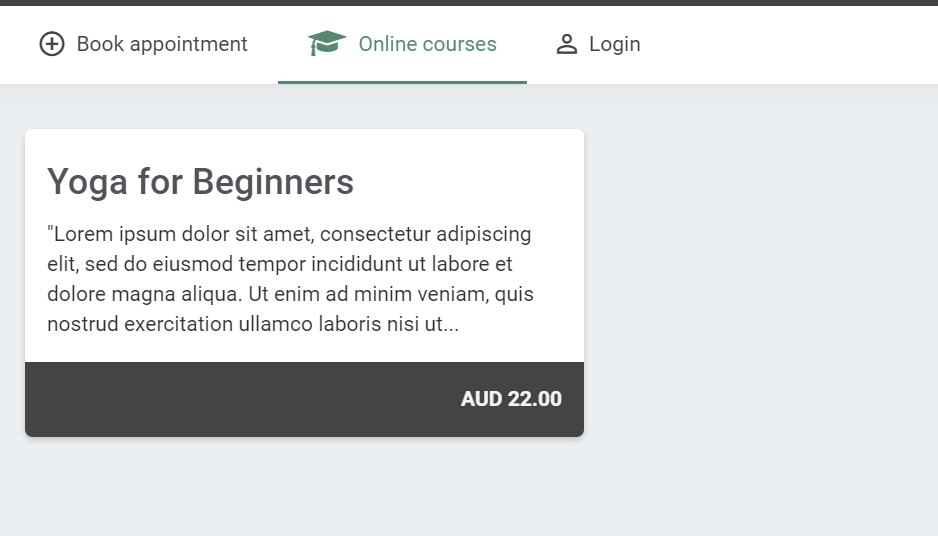
Pressing the overview button will show all your courses with a snippet of the short description that you wrote, and the price of the course.

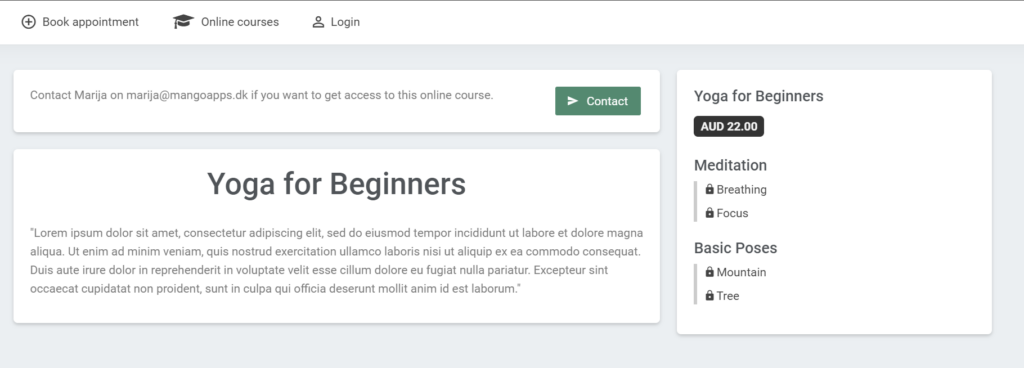
Pressing on the course will give the clients more information. Here, they will be able to see the full description of the course, all of its categories and pages, once again the price, and your contact. They will be able to contact you about further details about the course, or about wanting to sign up for it!

What the clients that bought the course see
Now that your clients have bought the course, they will have a different overview. To check how your course looks for the clients, go into the specific course that you are interested in, and press the “View online course” button.

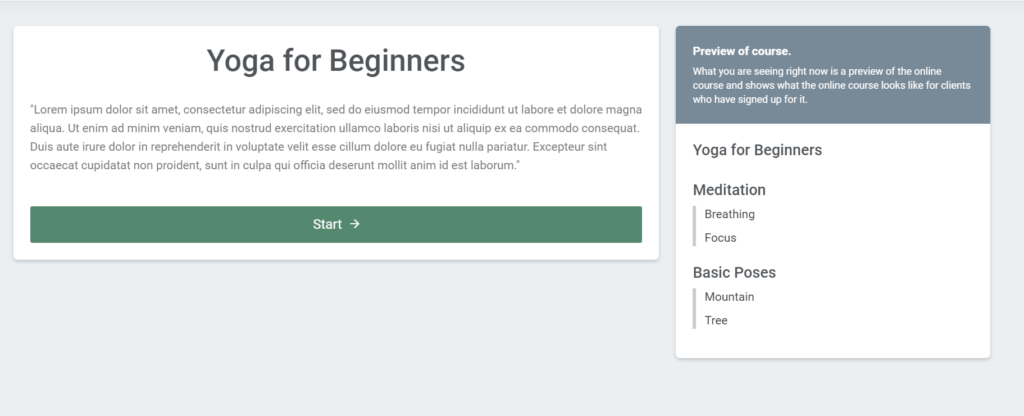
Pressing the “View course” button will take you to the course intro page. Here, all the same information is visible, with the difference of there being a “Start” button.

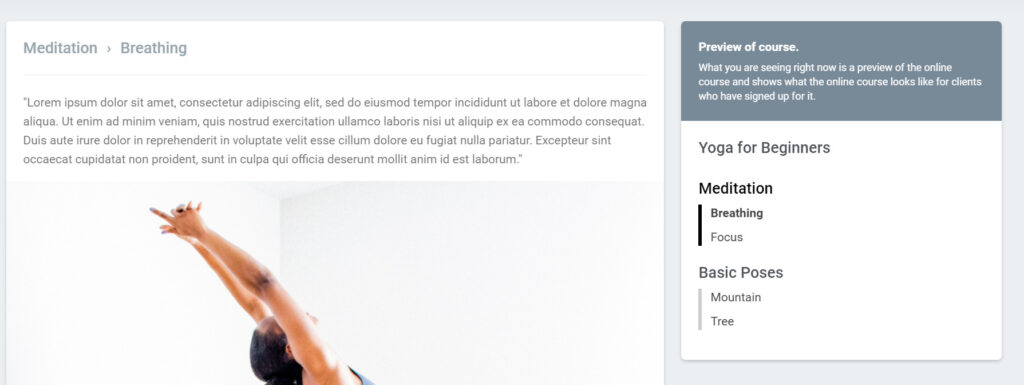
Pressing the “Start” button will take the client to the first page of the course. On the right, there will be a menu with all the parts of the course. The bold part is the page you are currently on. Clicking on any of the parts will take you to that specific page.

At the bottom of the page, there will be the “Next” and “Previous” buttons on adequate pages.

When you are creating your course, you can always preview the pages and categories you are working on in the same way.