Add Online Courses
Creating an Online Course with EasyPractice is quite simple and straightforward. Here you can create content for your clients that you can offer directly in our system. You can freely combine text, pictures, and videos in a way that works best for you. Let’s dive into how to create your course!
How to create your Online Course
Firstly, like many other apps, Online Courses need to be activated in the “Apps” menu. Once Online Courses have been activated, you will be able to find them in the main menu bar. Clicking on this tab will open the overview of the app. Here, you will be able to create your new course and have an overview of all your future courses.
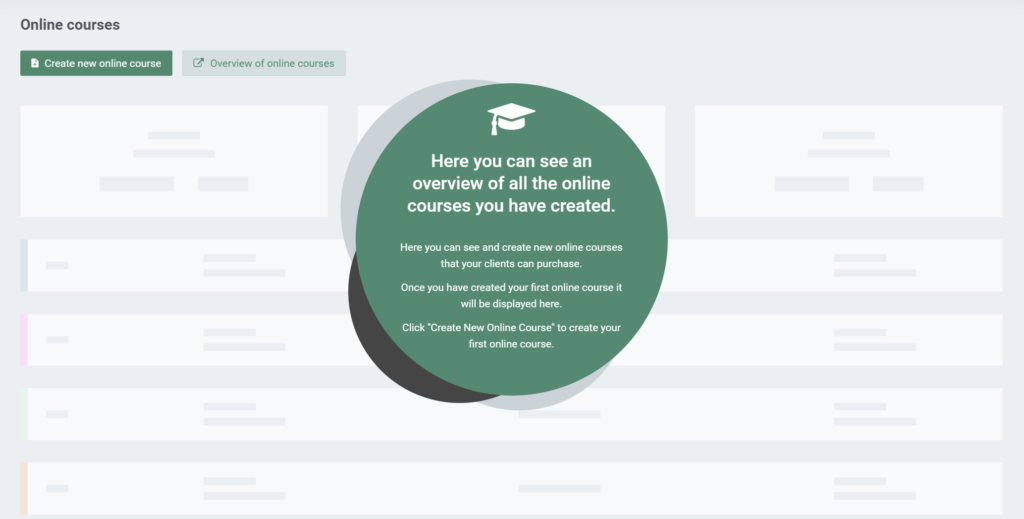
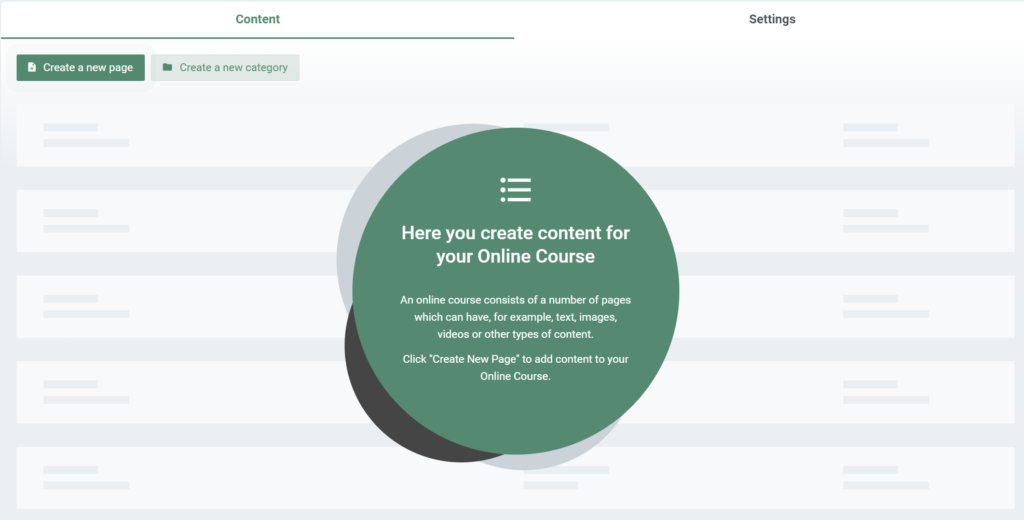
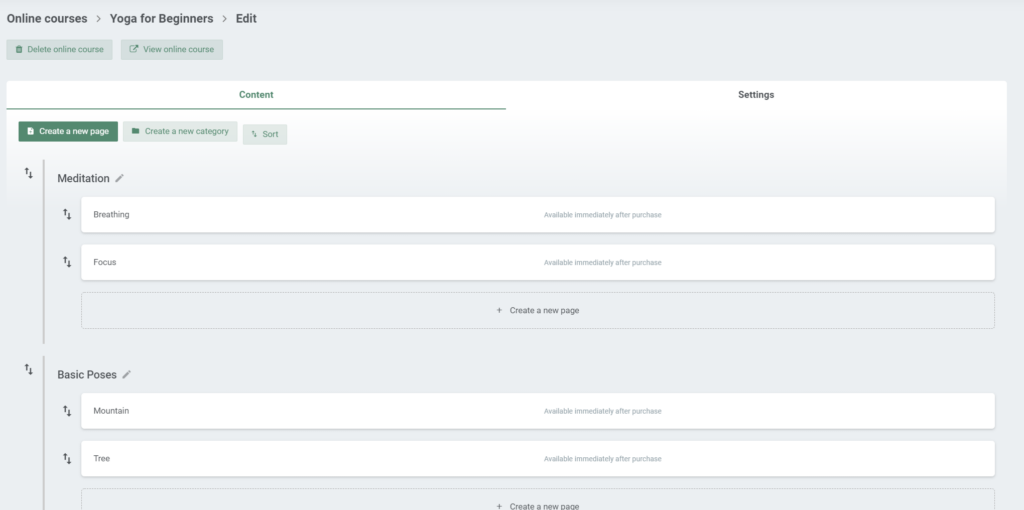
Clicking on the “Create new online course” button will take you to a new page. You will first need to name your course, and then you can continue. The page has “Content” and “Settings” tabs. For now, we will focus on the content and making your course. For starters, you will have two possibilities – to create a new page or to create a new category. Pages are units of categories.
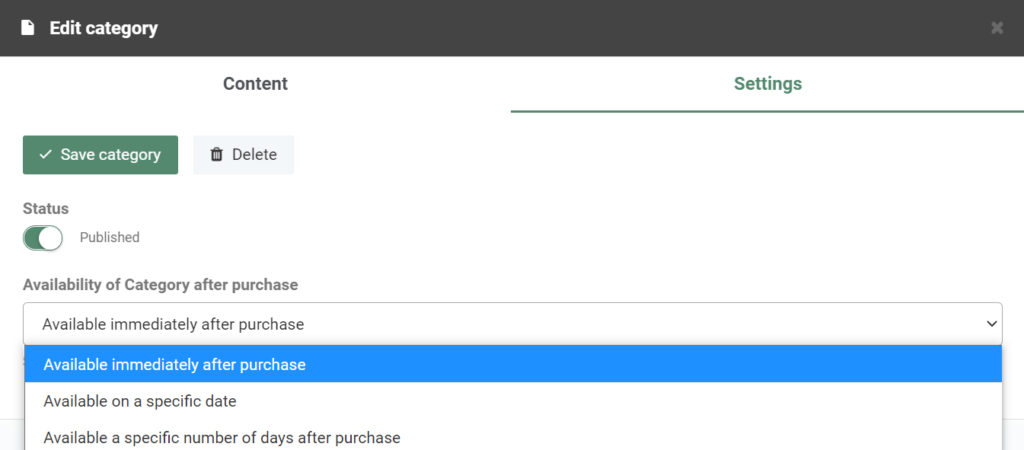
Let’s first create a category to put our pages in. To do that, you need to click on “Create a new category” and choose a name for it. Once you do that, you will again have “Content” and “Settings” options. In the content part, you can change its name, and in the settings, you can choose its status and when it will be available. The options are to make it available immediately after purchase, on a specific date, or a specific number of days after purchase. Once you have set this up, don’t forget to save it!
Pages
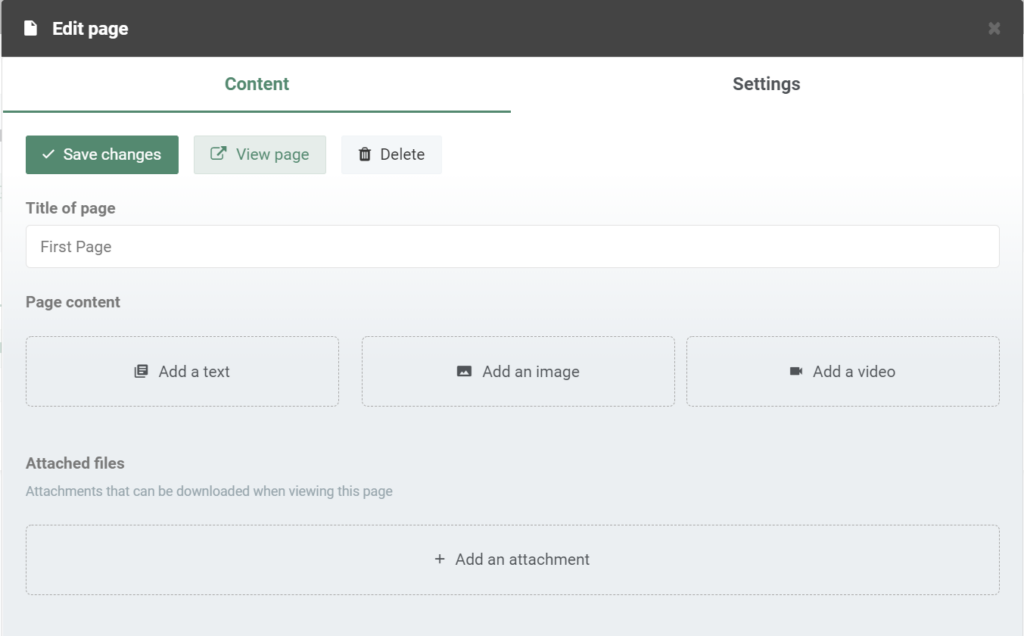
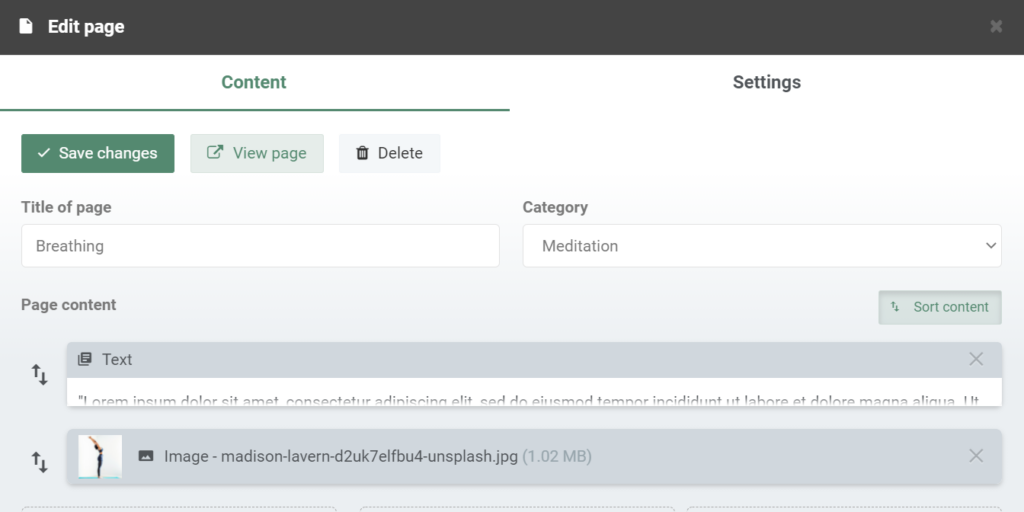
To start creating content for your course you will have to create different pages. Pressing on the “Create new page” button will open a window with different options. The building blocks of your course will be text, images, videos, and attachments.
- Text: The text box gives you several options for font, size and layout. You can also insert an image directly into the text and link directly to an external media. The embedded media will automatically be formatted into a nice image format.
- Image and video: You can also add an image or video before or after the text box. Click “Add Image” or “Add Video” and select a file from your device. Note that it can take up to 15 minutes for a high quality video to upload.
- Files: For example an article or a PDF file that you would like to share with your course participants. The files will end up at the bottom of the page.
Once you have written your text and put in the wanted media. You can easily change the layout by pressing the “Sort content” button. This will minimize your content boxes, and you will be able to move them around and put them in whichever order works best for you. The same can be done with pages and categories in the overview. Also, the “Settings” tab has the same options as the one we had in categories.
When you have created your pages and categories. In the course overview, you will be able to sort them again, the same way as the page content, if you need to. Here you will also be able to delete the course, view it, and add new pages and categories.
Publishing the course
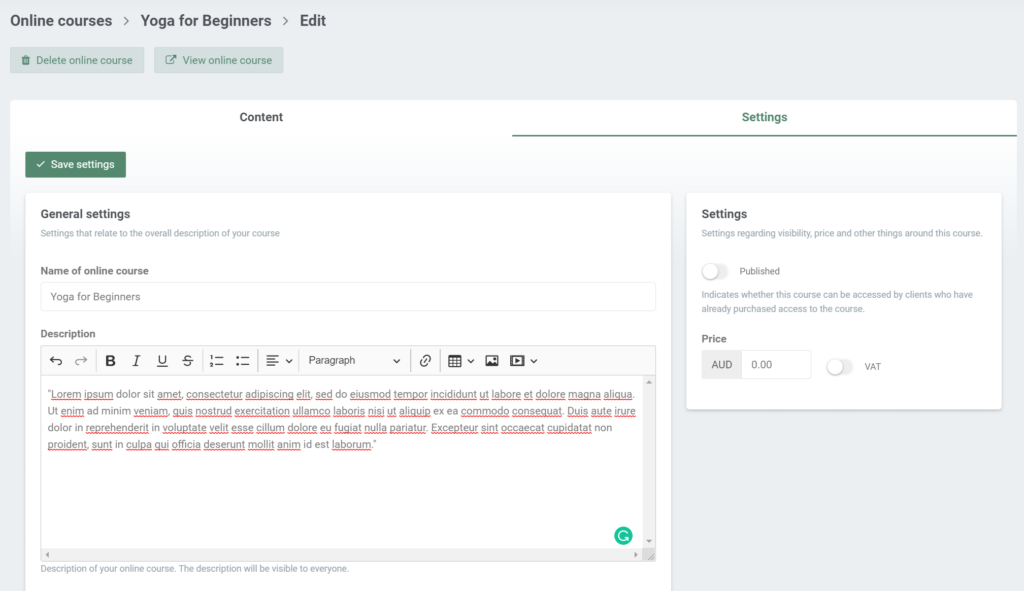
In the course settings you will be able to change the name if needed, and add a short description of your course that your clients will see. Also, here you will put the price of the course, and you can choose whether or not to include VAT. Once you have done everything that is necessary, all that is left is to publish the course. You do that by turning on the “Published” button above the price. If you need to unpublish it for any reason, you do it in the same way. And, of course, don’t forget to save the settings!
So, now that your course is published, and you already have some clients taking it, your course overview will look like the bottom picture. Here you will see its status, number of purchases, and total amount invoiced.
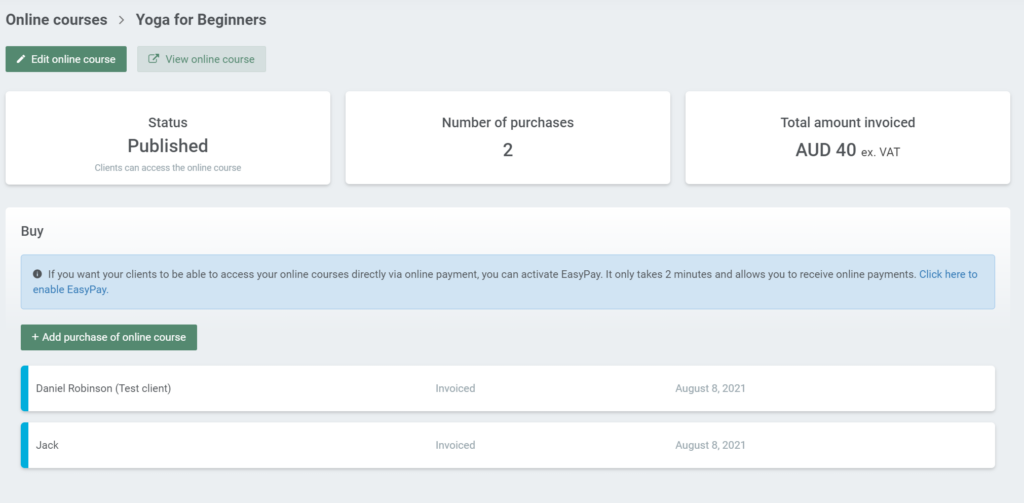
You can choose between adding course participants manually to the system or letting your clients register themselves through your online booking.
To add participants manually, the course must be published, so keep an eye out for that. When you have published your course, click on “Add purchase of online course”.
Here you can choose between adding both existing or new clients. You can also choose to create an invoice and attach it to the email sent to the client.
Finally, click on “Add”. Then an invitation to the course is automatically sent directly to your client.

Your clients can also register for the course directly through your online booking. The online courses get their own tab in your online booking, and your clients can see and register for your courses here.
Now that you have created your course, you can start sharing it with your clients!