Import/Export
With EasyPractice’s Import/Export function, you can easily transfer information to EasyPractice or download information from EasyPractice. This is a valuable tool if you, for example, are switching to EasyPractice from another booking system, or if your clients ask for their medical records and/or other information. It costs nothing to import or export files in the system and you can do so as often as needed.
How to import a file
Start by going to ‘Settings’ in the top menu and choose Import/Export. Here, you can choose between importing a list of clients or a file with client journals:
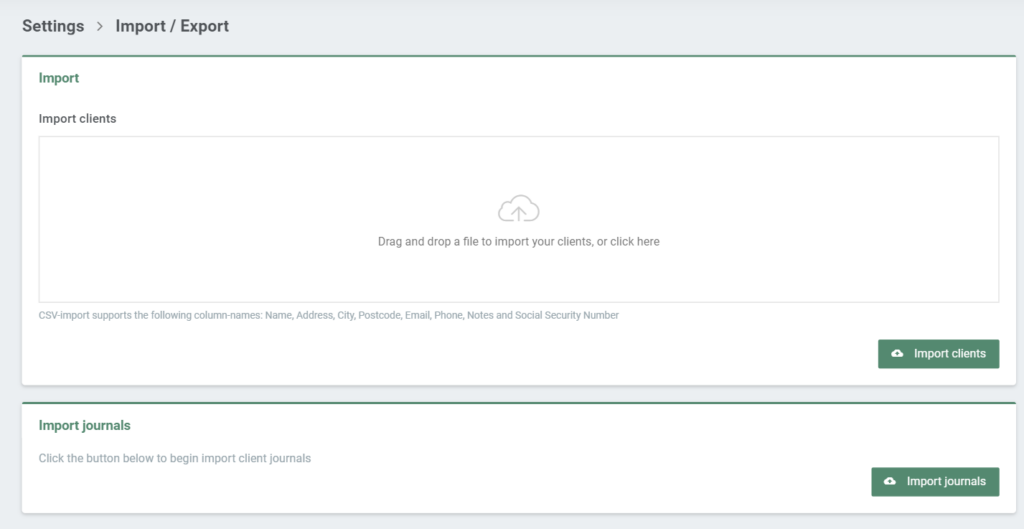
To import a file, click on Import clients or Import journals (or drag and drop the file to the cloud). Then choose the file from your computer that you would like to import.
Please note: The Import function only accepts CSV formats. If your file with client information or journals is currently in a different format, you can always reach out to us at [email protected], and we will help you with the transfer in a safe and secure way.
In the next step, you will need to link the data on your CSV file to the correct attributes on the journal or client file. Simply click on the ‘Select’ bar to choose which CSV column in your file that best represents these attributes:
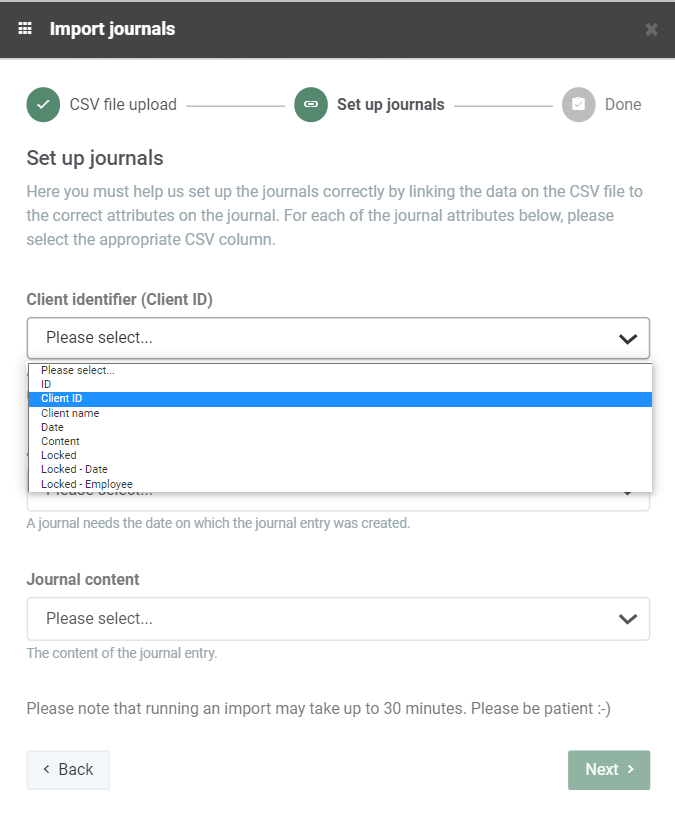
To finish the import, click on ‘Next’. It will take up to 30 minutes for the file to be imported into your system. All information about your imported clients/journals can then be found in the ‘Clients’ menu.
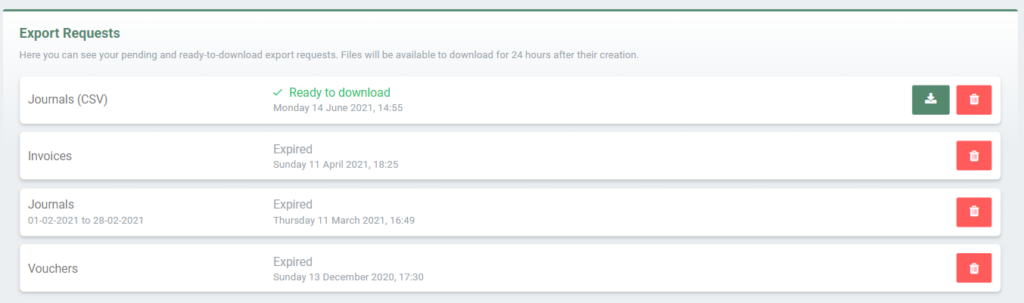
How to export a file
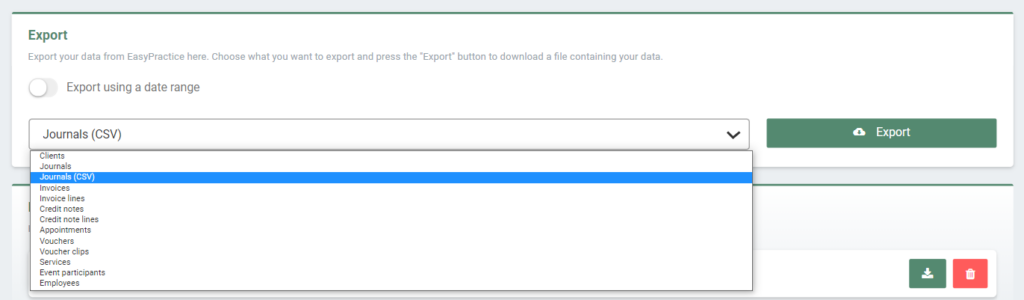
There are a number of available options for data exports. For example, you can export information about all your invoices, appointments, journals (both in PDF and CSV format), and services. To export a file, simply choose what file to export and then click on Export.
In a few seconds, the file will be ready to download. The file will be available to download for 24 hours after its creation.
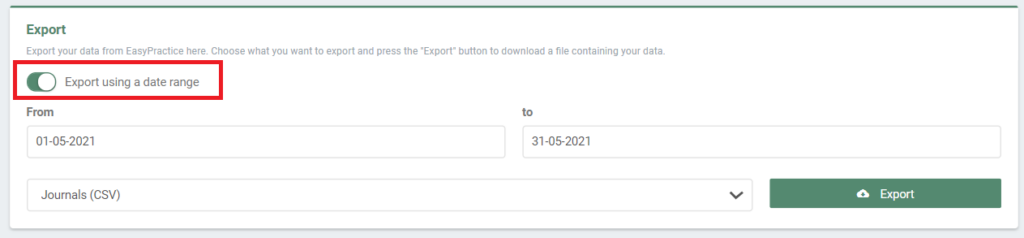
You can also choose to download files within a certain date range. To choose the date range, click on Export using a date range and then choose the date range: