Zapier
Zapier is one of the most powerful integration tools in the market right now. In short, it allows you to integrate over 3000 apps with one another, thereby automatizing the workflow between all your favorite digital tools. And the best part? EasyPractice is one of these apps, meaning that you can integrate EasyPractice with plenty of other systems. Apps such as Shopify, OneDrive, DropBox, OutLook, and many many more will be available through Zapier.
The logic is simple: The app allows you to create so-called ‘Zaps’. The Zap means that one event (trigger) automatically activates another event (action). In the following guide, we will show you exactly how to set up Zaps and how the tool works with EasyPractice.
Activate Zapier
Start by logging into your EasyPractice account and activate the app ‘Zapier’ in EasyPractice’s Apps menu. You will then be able to choose the information you would like to share with Zapier. All information from EasyPractice will be sent encrypted.
Then, create a user in Zapier by going to Zapier’s webpage and clicking on Sign up. Click here to get to Zapier’s webpage. Follow the instructions and choose which account you would like to connect to EasyPractice. Now you are ready to get started with the Zaps!
Create your first Zap
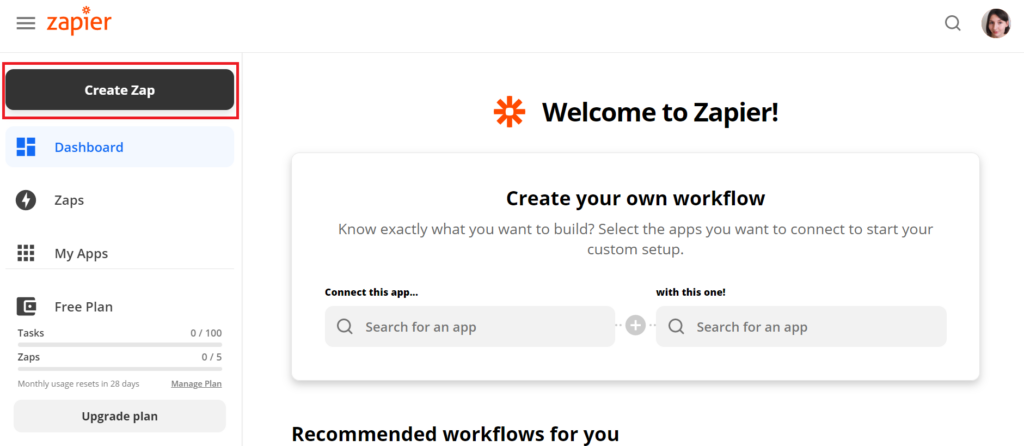
Step 1.
Log in to your Zapier account and click on Create Zap.
Step 2.
Choose the App Event you would like to activate. The App Event will be the starting point for your Trigger. Therefore, choose EasyPractice as your App event. Simply apply ‘EasyPractice’ in the search field and click on the app icon:

Step 3.
When you have verified your EasyPractice account, it is time to choose the specific Trigger Event that will trigger an event. It can, for example, be the registration of a new client, a new appointment, or an invoice. In the example below, I have chosen to use ‘New appointment’ as my trigger:

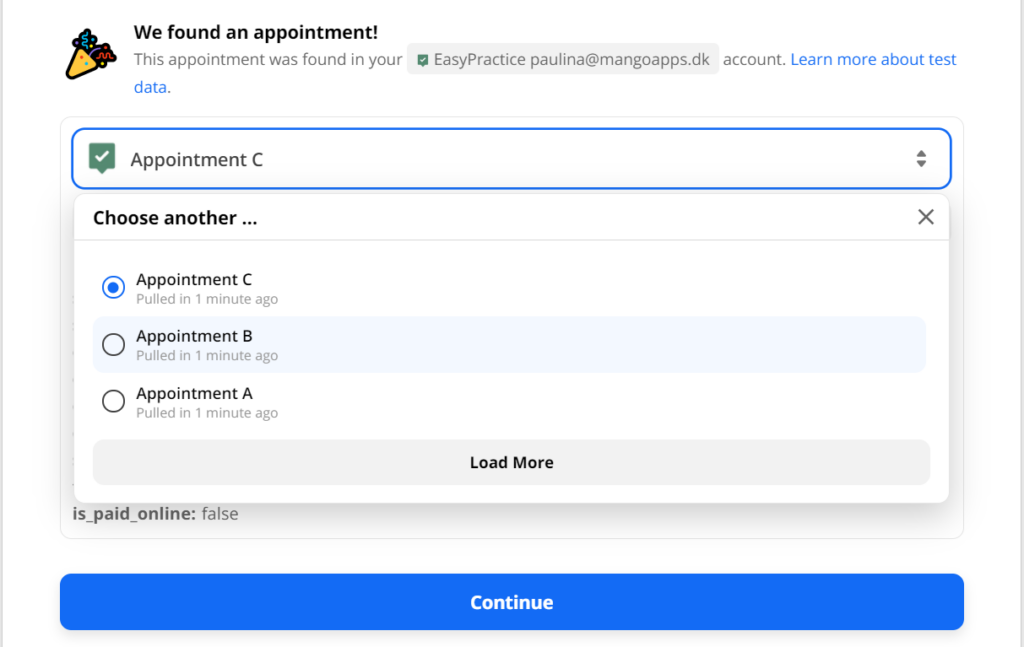
Step 4.
Zapier will now test your trigger. There may seem like a lot of options, but simply choose one of them and click on ‘Continue’.
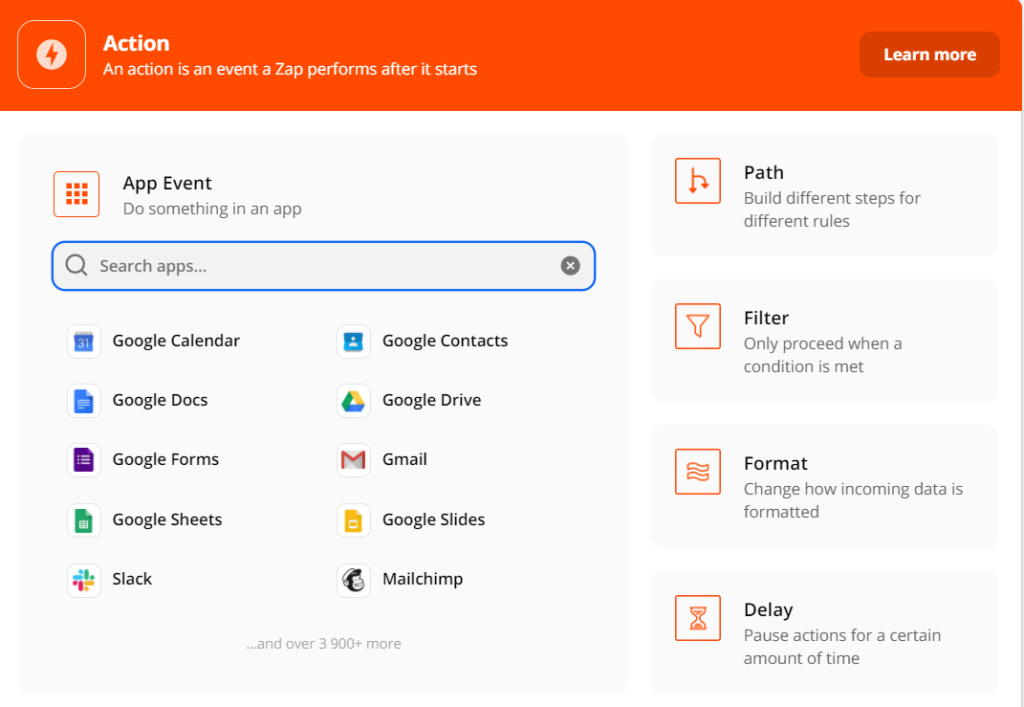
Step 5.
Now it’s time to choose the Action your trigger will activate. Simply choose the app you would like to integrate with EasyPractice, by using the search bar tool:
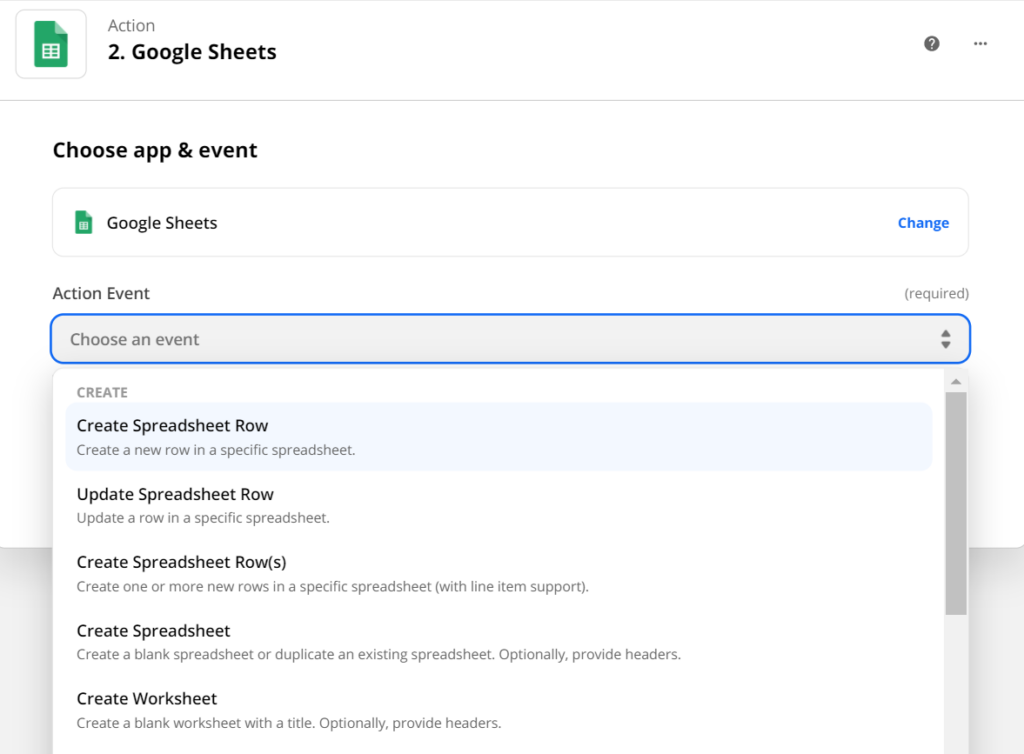
Step 6.
Now, you will be able to choose the Action event. Actions are the events that your Trigger will activate. In the example below, I have chosen to integrate EasyPractice with Google Sheets. When a new appointment has been created in EasyPractice, it will now create a new Spreadsheet Row in Google Sheet with the information of the appointment.
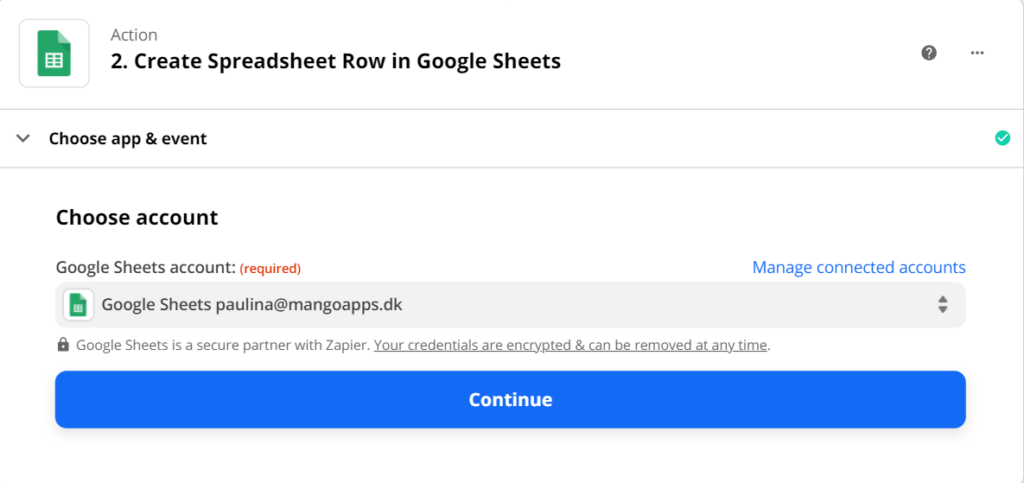
Step 7.
As I have chosen Google Sheets as my Action event, I will now have to log in to my Google account. This step will, of course, depend on the integration that you have chosen. When all required fields have been filled in, simply click on ‘Continue’ again.
Step 8.
Now you are almost there! If your app is all set up, you will now be able to see a short summary of the Zap you have created. To activate the Zap – and make it running – click on the small On and Off button in the top right corner. You can also name your Zap so that you can easily find it in the future.