Employees
As a clinic and a business, you most likely have a number of employees with different tasks and clients. Different employees need access to different things. EasyPractice allows you to create employee profiles for which you can choose the level of access they have. This way, each employee will have access to the information important to them, and not have access to other client files. You can create as many users as you want, and assign what they can and can’t access.
Privacy
You can choose the level of authorization of the employee profiles you make. Based on the clients they have, or the level of access that comes with their position, for them, the data they don’t have access to will be unavailable. This will also decrease the amount of organizational work for your employees, as they will only have to go through data assigned to them.
Creating an employee
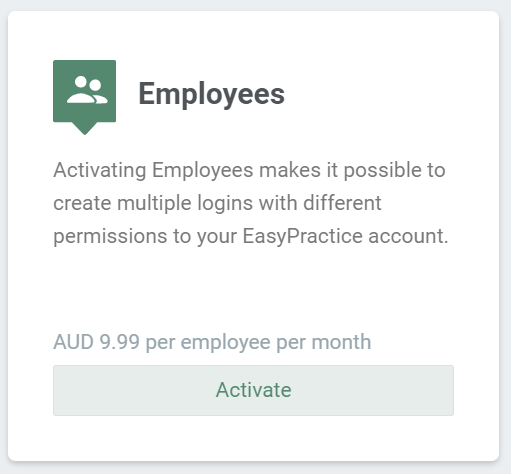
This is a paying feature, and to activate it, you need to find it on the Apps page, and click on ‘Activate’.
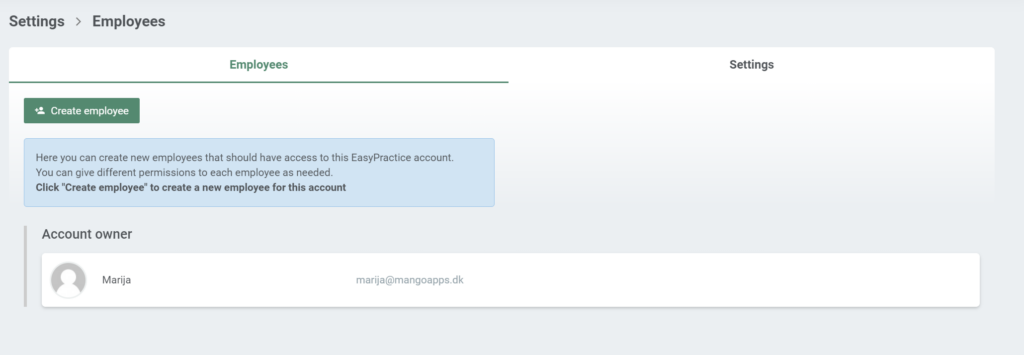
Once activated, a ‘Settings’ button will appear, clicking it will take you into employee creation settings. Here a button named ‘Create employee’ will be available. Besides that, you are able to see who the account owner is, and have an overview of existing employee profiles.
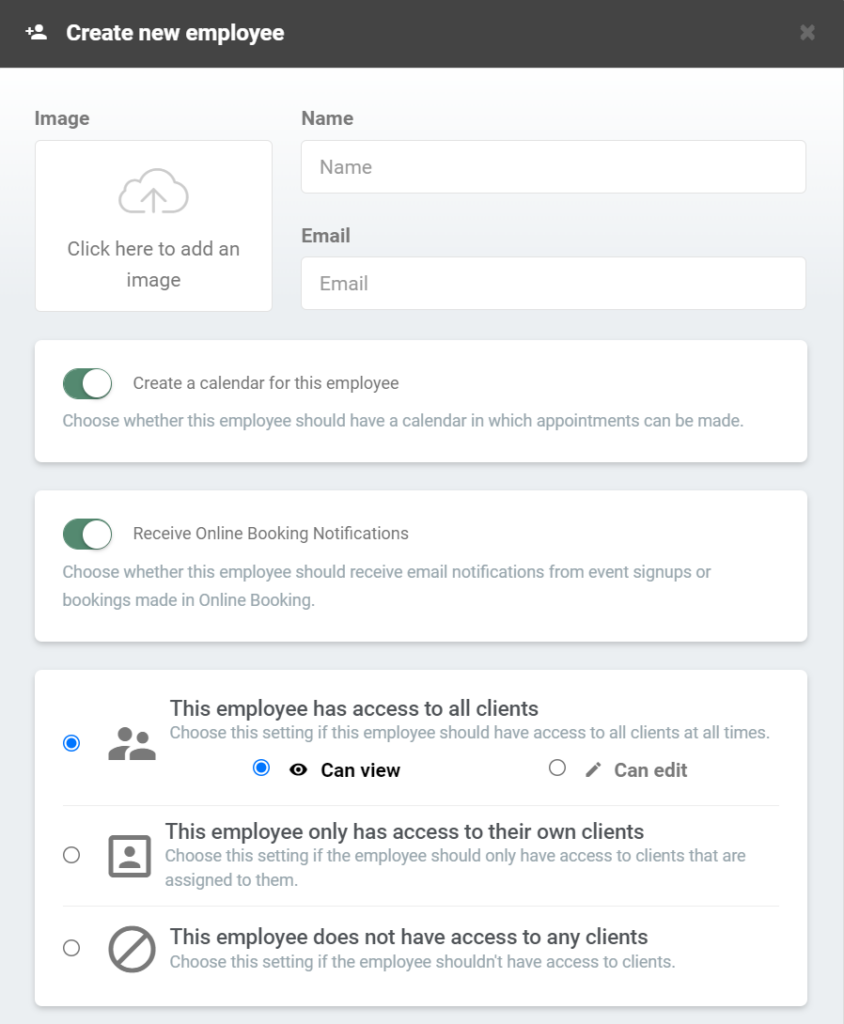
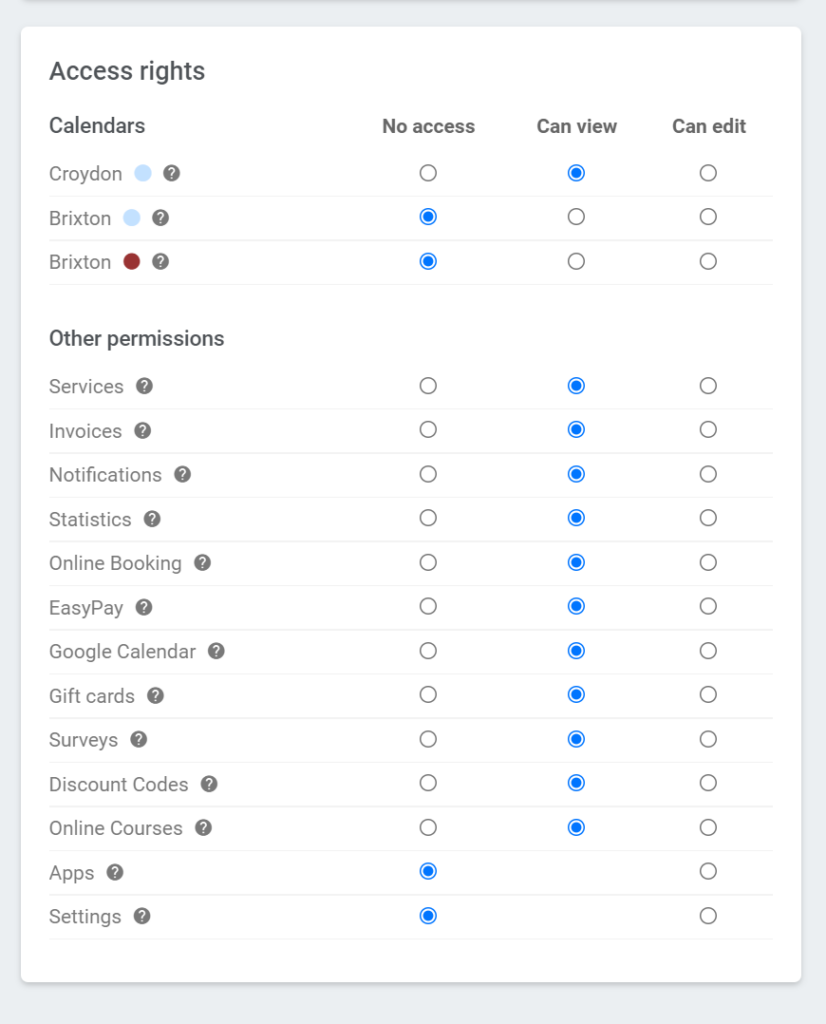
Clicking the ‘Create employee’ button will open a window that allows you to put a name, email, and a profile picture of the employee. It is possible to create a separate calendar for each employee, and you can allow them to receive Online Booking notifications. Here you are able to decide the level of access the individual employee has. You can choose to grant them access to all clients, none, or only to their own clients, and if they can only view or edit them. Another thing that you can do, is to choose their access rights for all the calendars and all the apps in the system. After the employee is created they will receive a password in their email. Clicking on the existing employee will allow you to edit them, and reset their password.
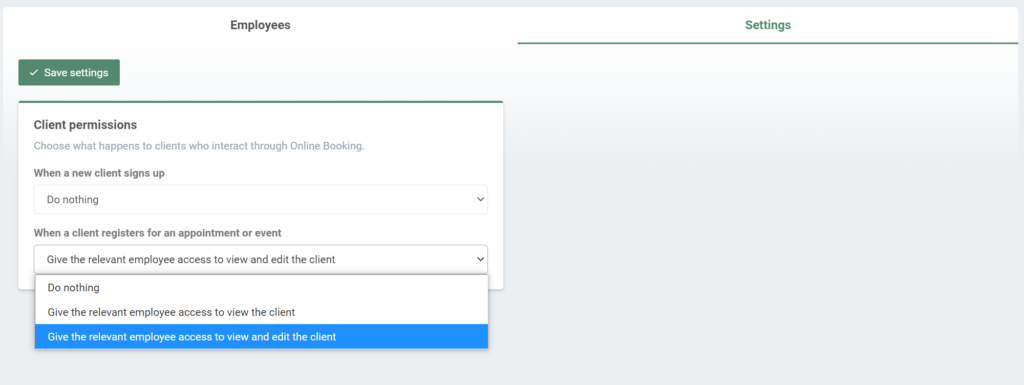
Client permissions (Settings)
Once you have created your employee profiles, you can choose the level of access they will have when a new client signs up or registers for an appointment. You have the option of giving all the employees access to view the new client or to view and edit them. There is, also, a ‘do nothing’ option. If it is just a few ones, you give them access in the employee profile (as explained above). The same options are available for both appointments and events.

What can an employee do in EasyPractice?
- An employee account can basically do everything that a main account can, in accordance with its level of authorization.
- They can recieve notifications about new appointments that are relevant to them.
- But employees do not have access to the the full ‘Settings’ menu in EasyPractice, meaning that only the main account can setup the Online Booking and similar for employees. They can, however, change their profile settings, for example, their password and email addresses.
How to assign clients to your employees
To assign clients to your employees, you can manually assign the employee in the booking. So, when you are creating a new booking, there will be a drop-down menu with your employees. Here, you choose the employee you wish to assign the client to.

Or, if you don’t want to do it manually, it can be done through Online Booking. You do this by making your employees’ calendars available for the clients. This is done by going to the Settings –> Online Booking –> Available Times . Here you will be able to see and choose between all the created calendars. Making a calendar available will allow clients to directly sign up to your employees’ calendar. This way, they will automatically be assigned to the employee in question.

Own notification templates for employees
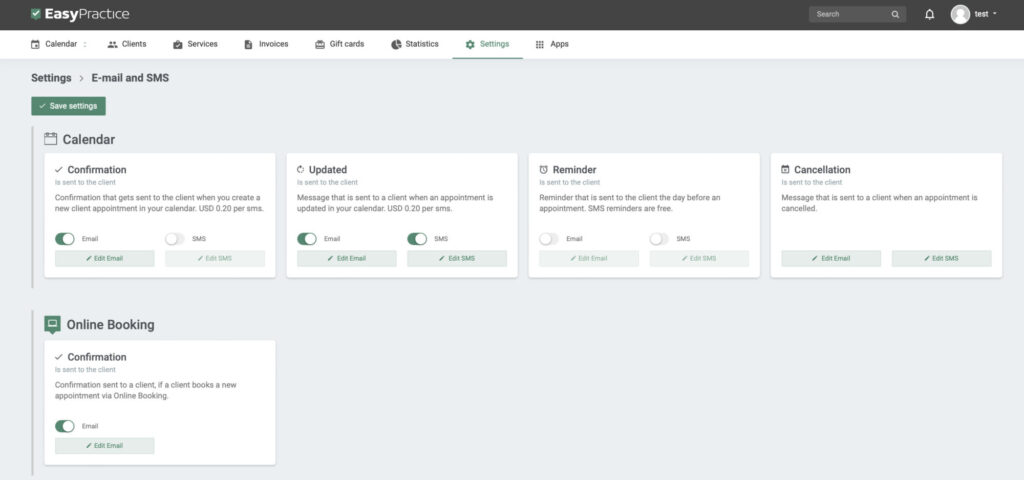
Employees can now define their own notification templates and they will be used when sending notifications related to, say, booking or an event assigned to a particular employee. If the employee has not defined their own template, the owner’s template will be used. It should also be noted that the owner has the option to overwrite employee templates.
Disable employees
As a user, you can also disable employees and prevent them from logging in. When editing an employee there is an disable butting. Upon clicking it, the employee is immediately logged out the system and will not be able to log on again, until they are enabled again.
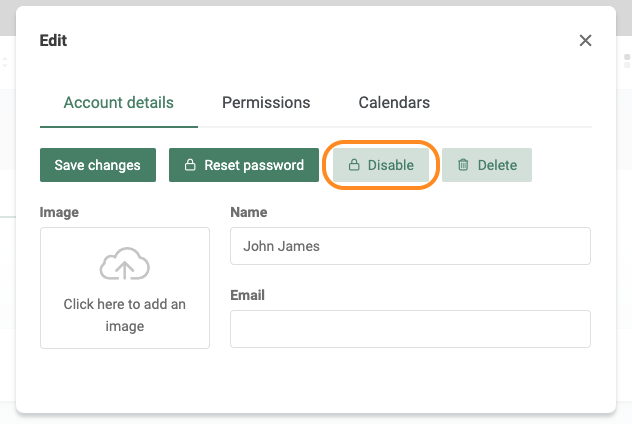
When you deactivate an employee, it is important to remember that the employee’s appointments will still be available. Further, clients can still book in that calendar if it is available in your online booking. This must therefore be removed manually under your calendar and online booking settings.