Create multiple calendars
Why use several different calendars?
There are many reasons why creating and using several calendars might benefit your practice. Having many employees using the system at once, is, of course, the most common reason. But it can also be that you work on several different locations and need one calendar for every address. Or that you want to provide a specific service on a specific day of the week.
Importantly, two calendars do not block each other’s available slots automatically. In other words, if you have created an appointment in Calendar A, clients will still be able to book an appointment in Calendar B at the exact same time and date. Unless you use Calendar Blocking. With Calendar blocking you avoid double bookings in your calendars, and are able to add multiple calendars without them overlapping.
How to add a new calendar
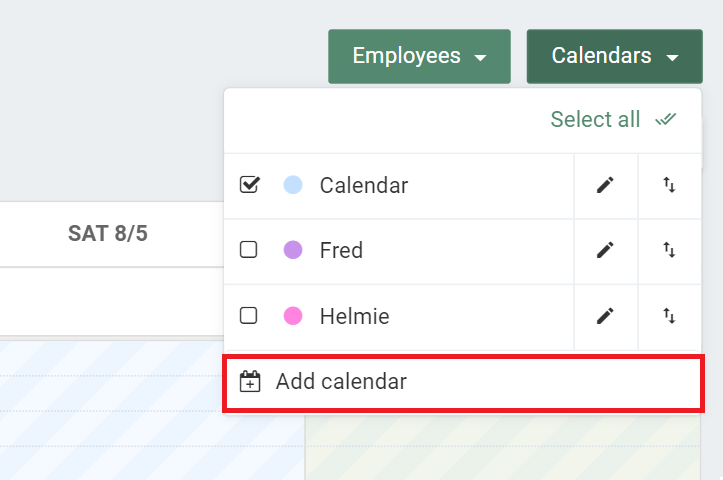
To add a new calendar, go to your Calendar page. Then click on the ‘Calendars’ button at the top right corner of the page. Here, you will be able to create a new calendar, by clicking on ‘Add calendar’.
Select ‘Standard’ calendar to create a new calendar that is not directly linked to an employee. An overview of your new calendar will then show. Here, you can fill in all necessary information about your new calendar.
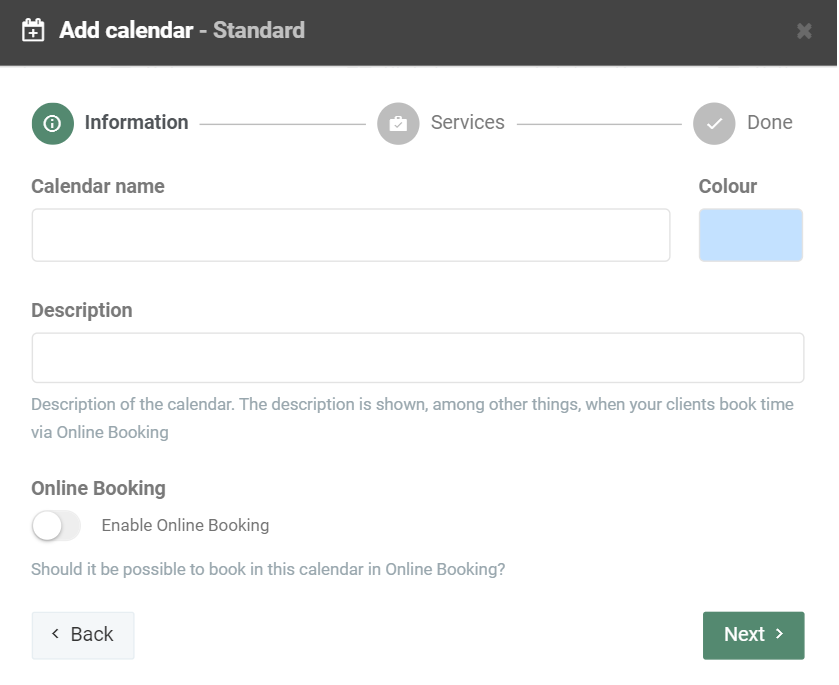
The name and description of your new calendar will be visible for clients in your Online Booking. Therefore, preferably choose a name that will explain where your clients are booking their new appointment. If the calendar is intended for bookings in a specific location, write the address of that location. Or if your calendar will represent a certain employee, write the full name of that employee and add a short description about his or her professional skills.
The color of your calendar is there to help you sort out your schedule. Preferably, you should therefore choose different colors for different calendars, so that you can easily identify which calendar each appointment belongs to in your calendar overview.
Finally, choose whether or not the calendar should be enabled in your Online Booking. Then click ‘Next’.
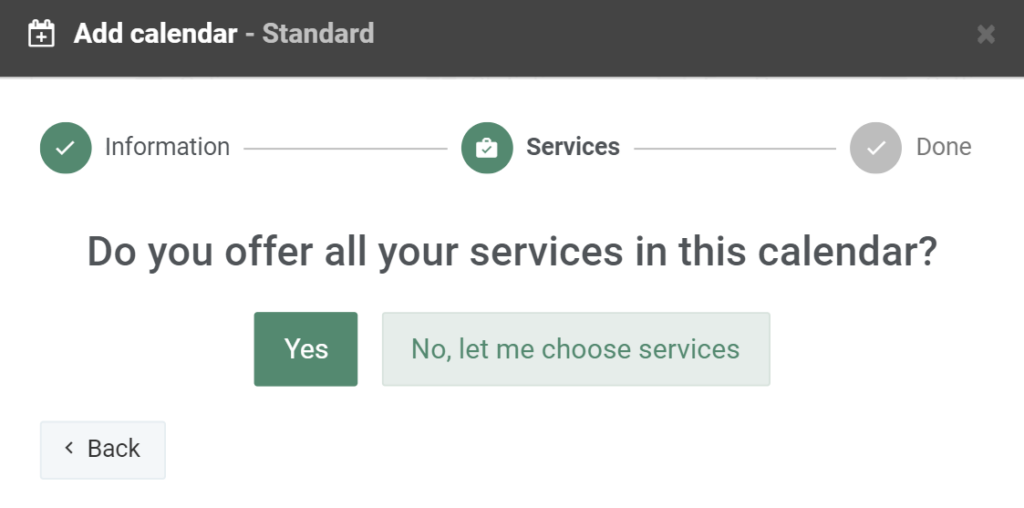
In the final step, you can choose to offer all your services in your new calendar or only a number of services. If a specific employee, for example, only offers certain services, you may choose only those services. Then, when clients click on the employee’s calendar in your Online Booking, they will only be able to choose between the services that the employee offers.