Other settings
Still haven’t found the online booking settings you are looking for? Then check the menu bar under Settings –> Online Booking named ‘Other’. Here, you will find some additional, but nevertheless important, settings for your online booking. All of them will be explained in the following guide.
Other
- Multiple services selection: Allow your clients to choose more than one service when they book an appointment online. This function will make it easier for your clients to purchase more from you.
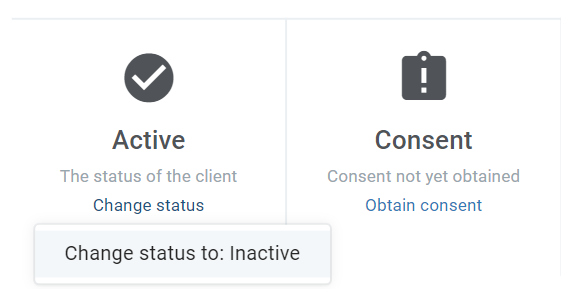
- Inactive clients: By activating this function, clients that have been set to ‘Inactive’ will not be allowed to login or book appointments through your Online Booking. To set your clients as inactive, go to the client’s personal profile and click on ‘Change status’. You will then be able to inactivate the client.
Mailchimp
If you are using the app ‘Mailchimp’, you can choose to allow your clients to sign up for your newsletter directly when they book an appointment online. The option will automatically show in the registration form for your service.

Google Calendar
You will also find a function relating to the app ‘Google Calendar’. The function allows you to automatically block your Online Booking when a meeting or appointment is added to your Google Calendar. This will help you to synchronize the calendars in an even more effective way. You choose which of your EasyPractice calendars will be synchronised with your Google Calendar. If you have several employees, you can adjust which employees can see the bookings made in the Google Calendar.
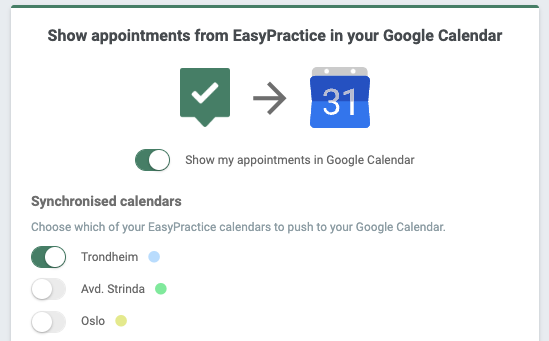
Note that in order for the slots in your Online Booking to be blocked, the Google Calendar appointments must be marked as ‘busy’. To learn more about this function, see our full guide on Google Calendar synchronization here.
Tracking
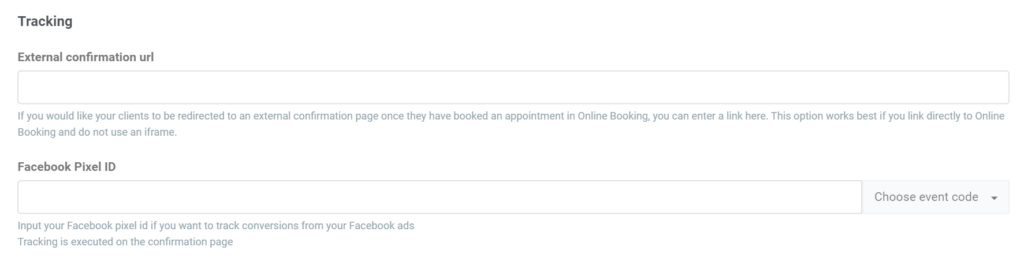
External confirmation url: If you want to add your own confirmation page, which your clients will automatically be redirected to when they book an appointment online, you can enter the link to that page here.
Facebook Pixel ID: Finally, the Facebook Pixel will help you to track conversions from your Facebook ads. To receive your Facebook Pixel ID, you will need to create a pixel in Facebook’s ‘Ads manager’. The pixel, or code snippet, should then be inserted here in the ‘Other’ section:
How do I find my Facebook Pixel ID?
In order to start capturing audience data through Link Manager, you need to set up pixels for each of your advertising platforms. In order to find your Pixel ID for Facebook, follow the instructions below.
- Log in to Facebook and go to your Ads Manager account.
- Open the Navigation Bar and select Events Manager.
- Copy your Pixel ID from underneath your Site Name and paste the number directly into the Link Manager setup tab.
Now you are able to capture, analyze, and re-target any person on any ad platform that clicks on your links on your channels (including Facebook).