Managing your events
Management tools
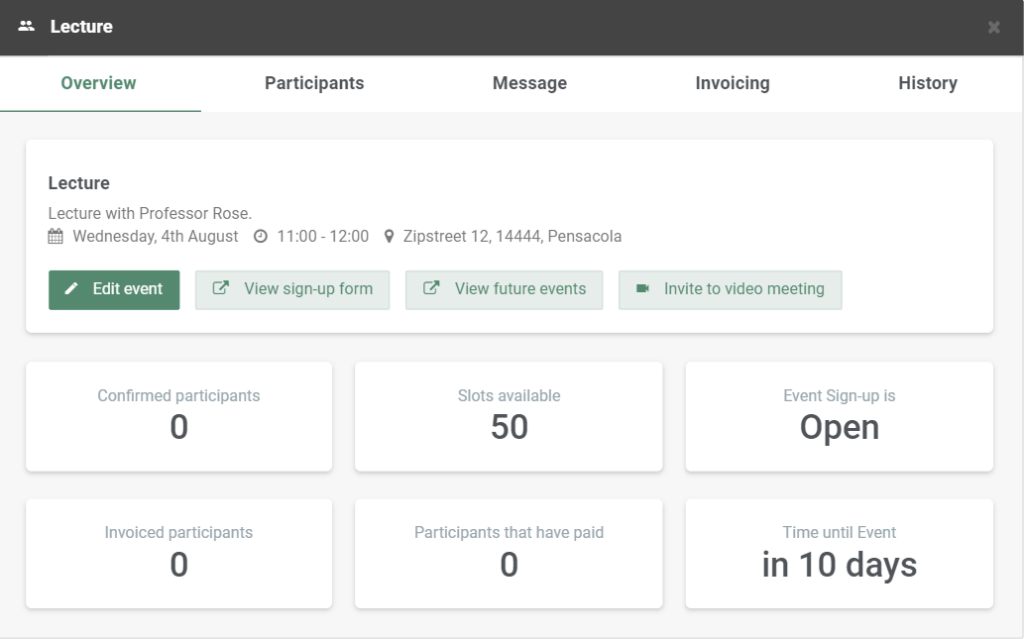
When you have created an event, you can simply click on the event in your calendar to find everything you need to manage the event. The tools are there to help you administer and stay updated about your event registrations, payments, and similar. Five alternatives can be found in the top menu bar for your specific event: Overview, Participants, Message, Invoicing, and History.
Overview section
- Find key numbers of your event, e.g. the confirmed number of participants or slots available.
- Edit your event, for example, if you want to close for further registrations.
- View the sign-up form and future events on your Online Booking page.
Participants
- View details about your participants.
- Manually add clients as participants to your event.
- View the invoice and payment status of your participants.
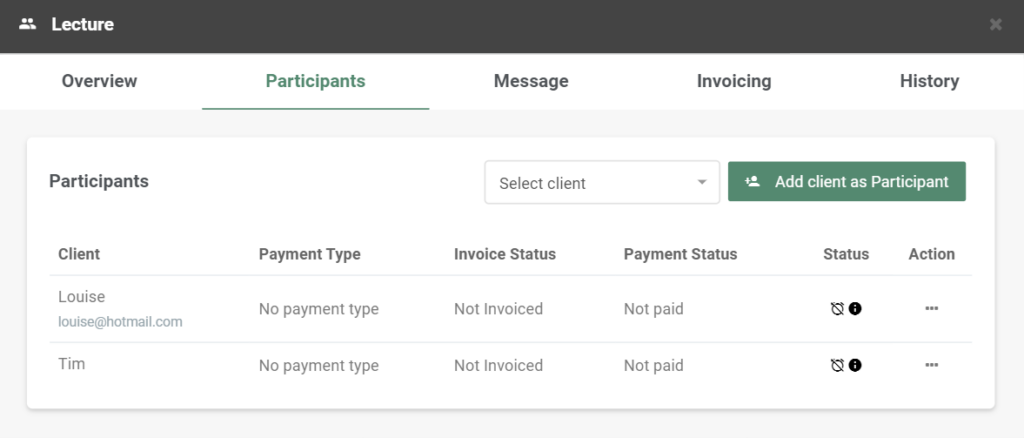
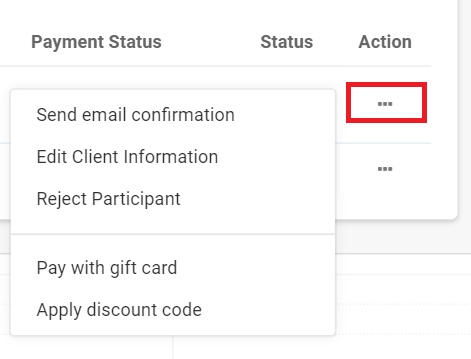
By clicking on the small dots under ‘Action’, you can take additional actions for specific clients:
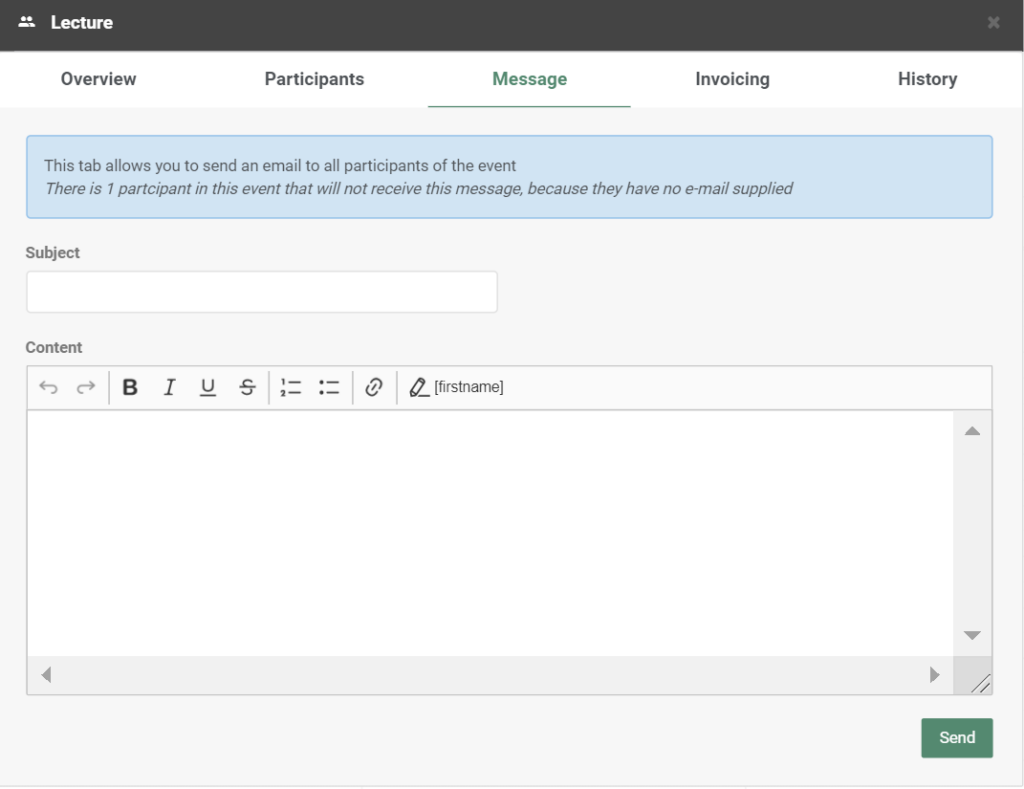
Messages
Here, you can send additional messages and updates to all your participants at once. These will be sent to your clients immediately.
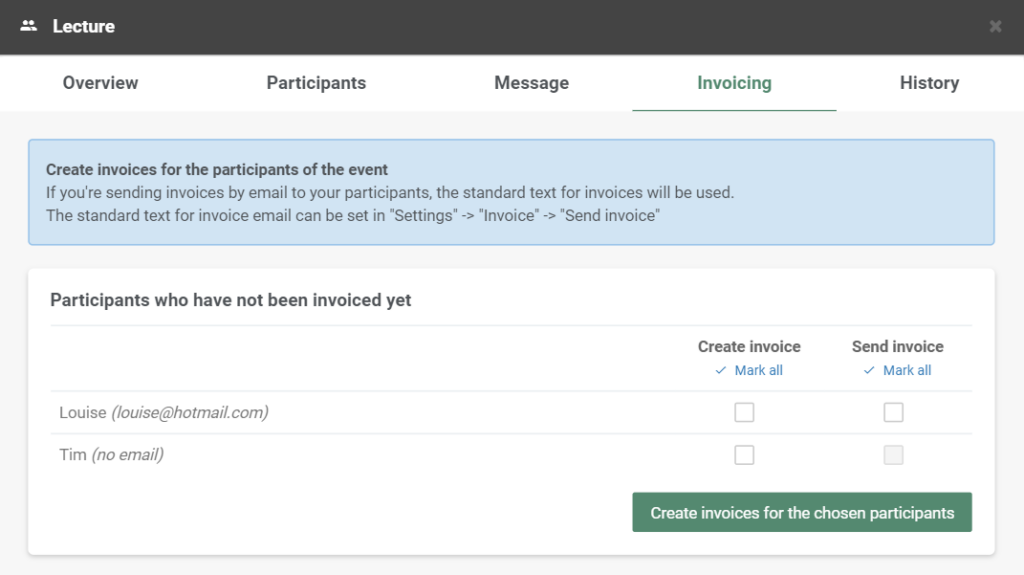
Invoicing
Wondering how you will be able to invoice over 100 participants? No need to worry, under ‘Invoicing’, you can easily create and send invoices for all participants that have not yet received an invoice:
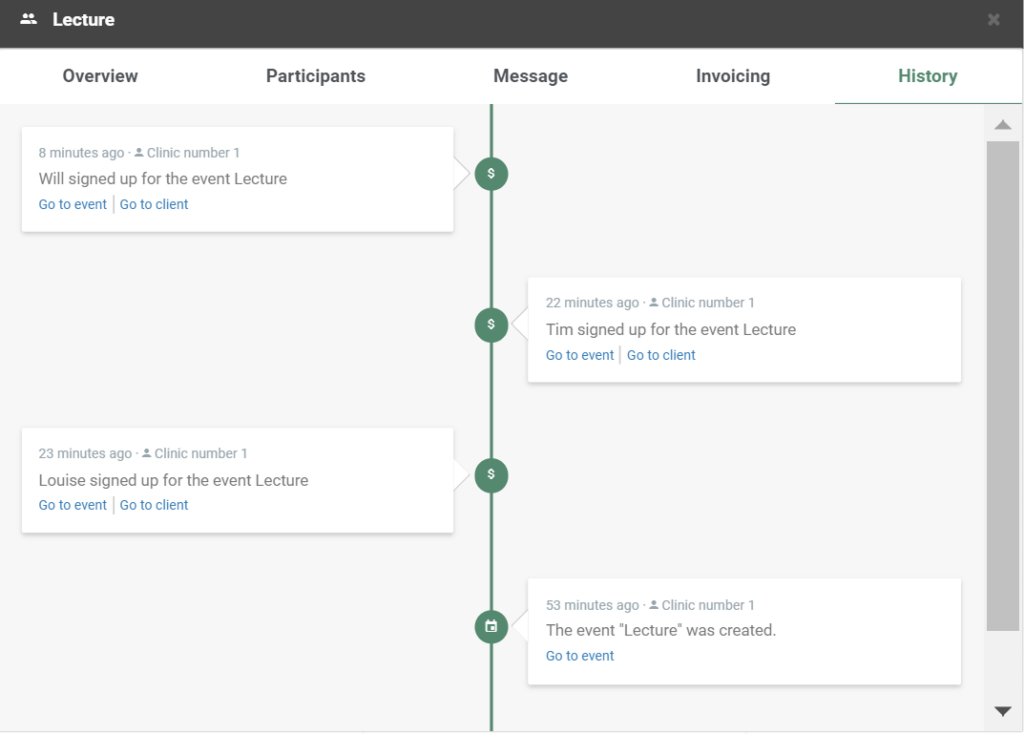
History
The History section will show you a timeline of all new updates and registrations to your event:
Additional settings
There are also some additional event settings that will help you manage your events. To find these options, go to ‘Settings’ in the top menu bar and click on ‘Events’.
Client Login
Client Login allows your clients to log into their personal EasyPractice profile through your Online Booking. Here, they can register on your events, cancel their registration, receive encrypted messages or files from you, and much more. To learn more about what the Client Login function entails, see our related guide here.
To activate Client Login for your events, you must enable the function under Settings –> Online Booking –> Client Login. Then, you can return to Settings –> Events and edit the Client Login options for events.
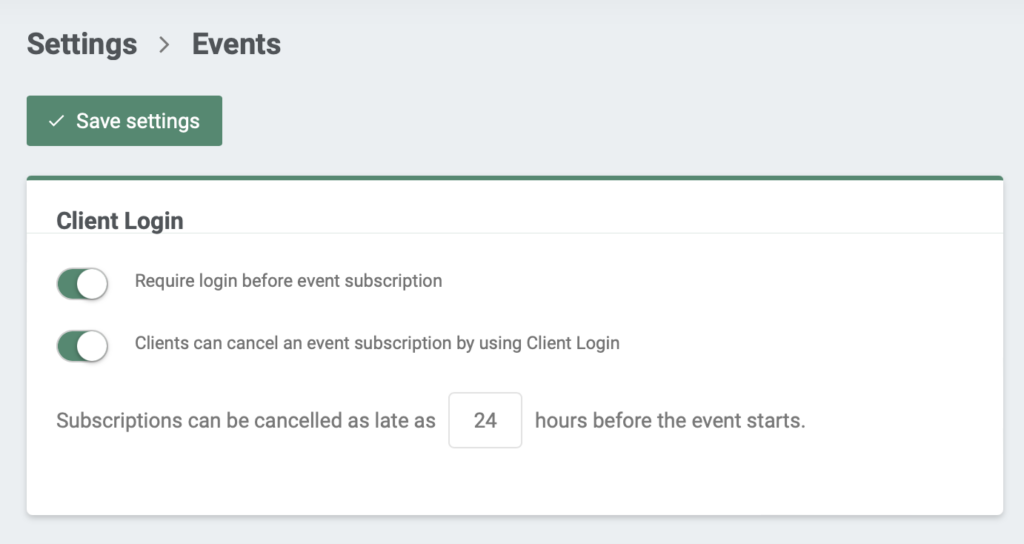
- Require login before event subscription. This will make it an requirement for your clients to login before they register on your events.
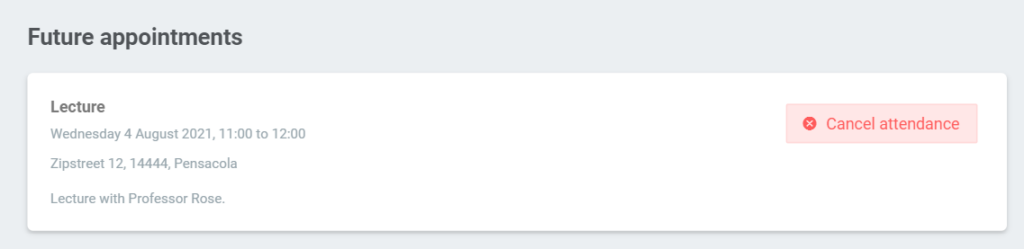
- Cancel event subscription. This will allow your clients to cancel both event and course attendance. It’s possible to decide when clients can last cancel an event booking.
Mailchimp
If you have activated Mailchimp in EasyPractice’s App store, you can allow your clients to sign up for newsletters when they join an event:
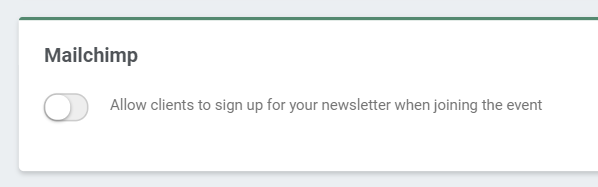
Read more about EasyPractice’s integration with Mailchimp here.
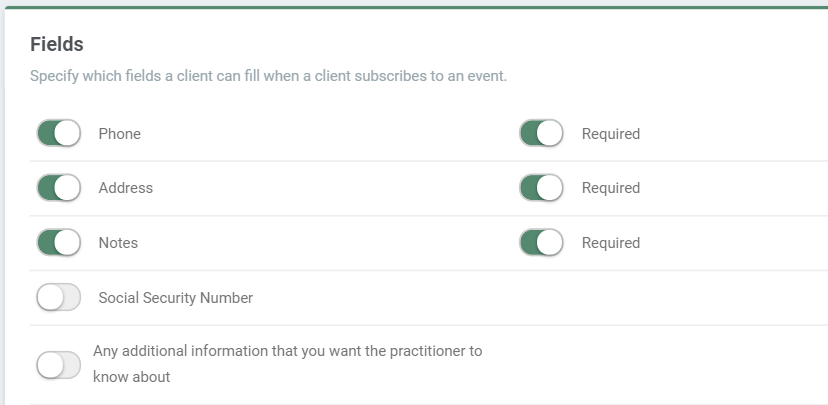
Fields
Just as for regular services, you can also edit the fields in your registration form. This allows you to automatically gather all the necessary information about your participants. Your clients will always be required to add their email addresses when they register for an event.
Note: With the app ‘Custom Fields’, you can create and add your own fields to the registration form. Learn more about the app Custom Fields here!
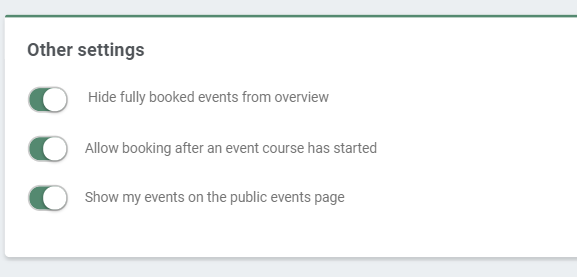
Other settings
Finally, there are some additional settings to be found on this page. They allow you to:
- Hide fully booked events from overview
- Allow bookings after an event course has started
- Show events on the public events page