Surveys
Do you need any specific information from your clients before their first session with you? Or do you want feedback from your clients after your appointment? Then the app ‘Surveys’ might be a good choice for you! The app allows you to send out surveys to your clients, either manually or automatically, and to digitally gather the responses in different formats. On the following page, you will learn how to set up surveys and get started with the app. Choose to learn through our visual video guide, or check the written guide below.
How to create a new survey
Start by activating the Survey app in the App menu. Then, go to ‘Settings’ in the top menu bar and click on Surveys. Here, you can choose to create a new survey and view all your existing surveys:
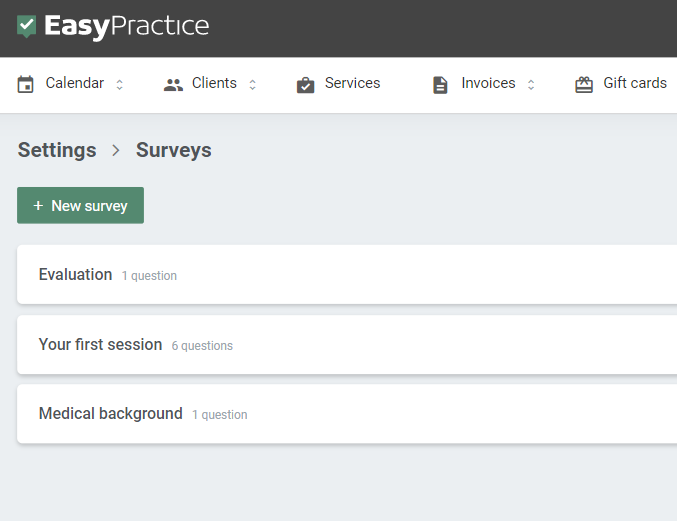
Click on ‘New survey’ to create your first survey.
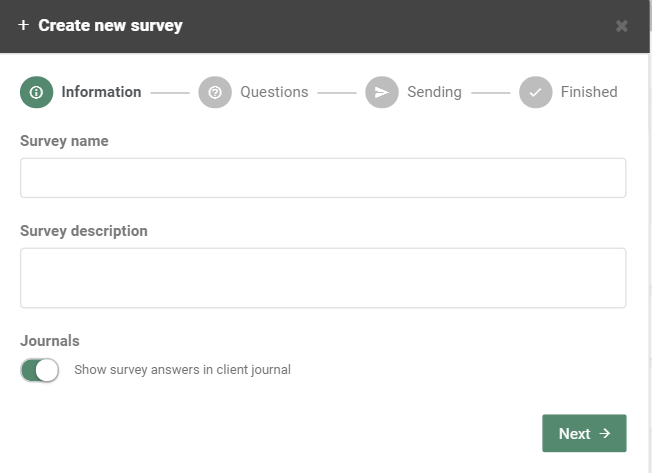
- Information: In the first step, you should fill in the name of the survey and write a short survey description, explaining what the survey concerns. Then click on ‘Next’.
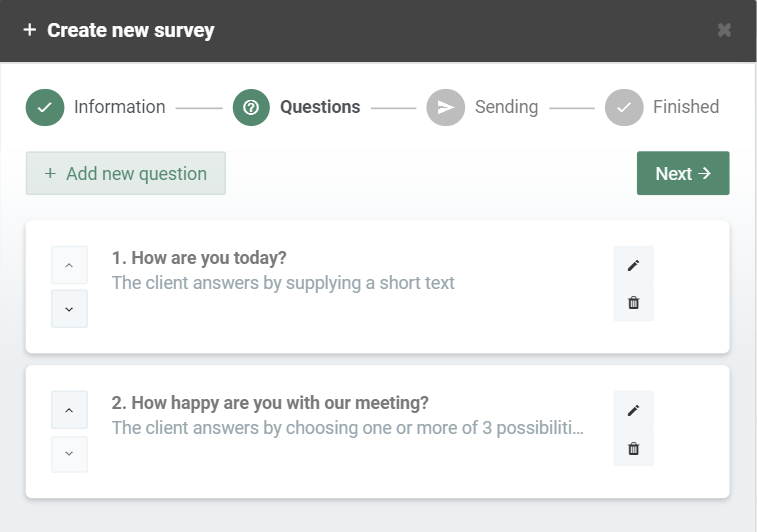
2. Questions: Add the first questions to your survey and include a short description of the question if you like. You can also choose a question type, which will determine how the question will be answered by your clients. Six alternatives are available:
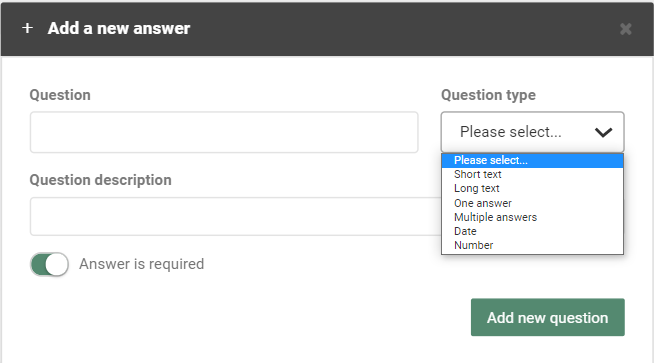
- Short text: This response alternative will only allow your clients to write a few words, for example, to state their name or an address.
- Long text: This alternative allows your clients to evaluate their answer and write a longer response, for example, if they should state their current medical condition or what they are expecting from their first session.
- One answer: If you only want your clients to answer, for example, a yes or no question, use this alternative.
- Multiple answers: Add several response alternatives to your clients, which they can then choose between.
- Date
- Number
When you have added a question and chosen a question type, click on Add new question. Then, simply add as many questions as you like to your survey. Finally, click ‘Next’.
3. Sending: In the third step, you can choose the set up an automatic sending of your survey:

An automatic survey allows you to automatically send out your survey to your clients, for example, 2 days after or before your appointment. A number of alternatives can be found here:
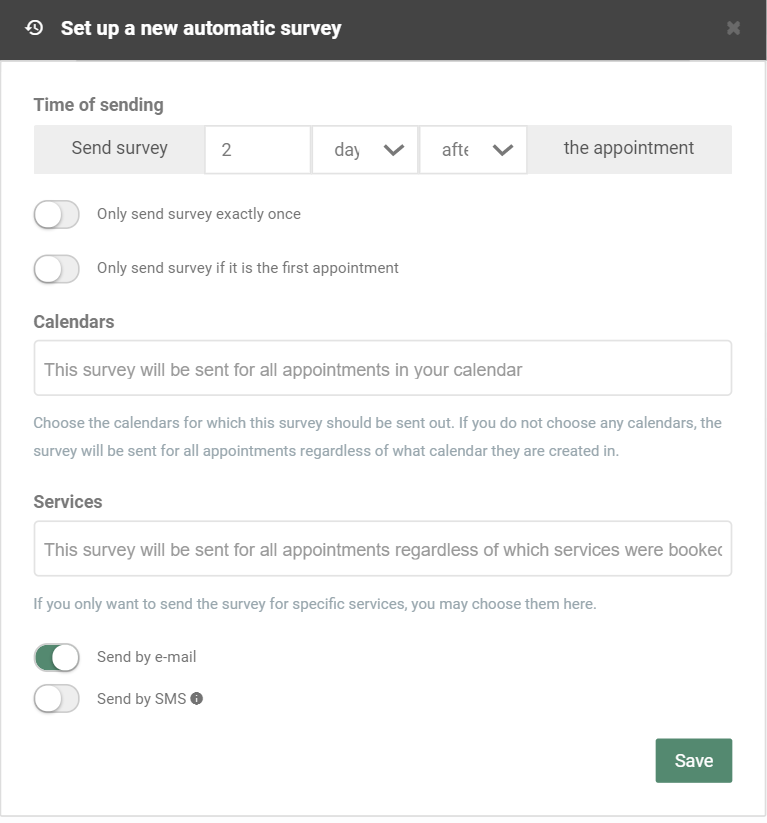
Choose the settings that you prefer and then click on ‘Save’. You can then choose to set up a second or third automatic send-out, if you, for example, want your clients to answer the survey both before and after their appointment.
Finally, click on ‘Create survey’ to save and activate the survey for your clients.
Send surveys manually
If you prefer to send out your surveys manually to specific clients, you can do so by:
- Clicking on a booking in your calendar and then choosing ‘Add a survey’. You will then be able to choose when the survey should be sent to your client in relation to that specific booking.
- Going to your client’s profile and clicking on ‘Survey’. Here, you will find all surveys that have been sent to this client. To send a survey immediately to the client, click on ‘Send survey’ and then choose which survey to send.
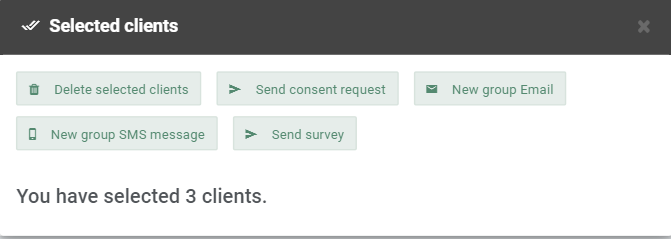
- Selecting a group of clients in the Client overview (under Clients in the top menu). When the clients have been selected, click on ‘Send survey’ to immediately send the survey to these clients: