Newsletters (MailChimp)
Newsletters can be a valuable tool for keeping your clients updated about your business. EasyPractice has therefore created an integration with MailChimp, which allows you to create your own, unique newsletters and send them to your clients through EasyPractice. The integration is for free and can be activated in the ‘Apps’ menu.
Install MailChimp
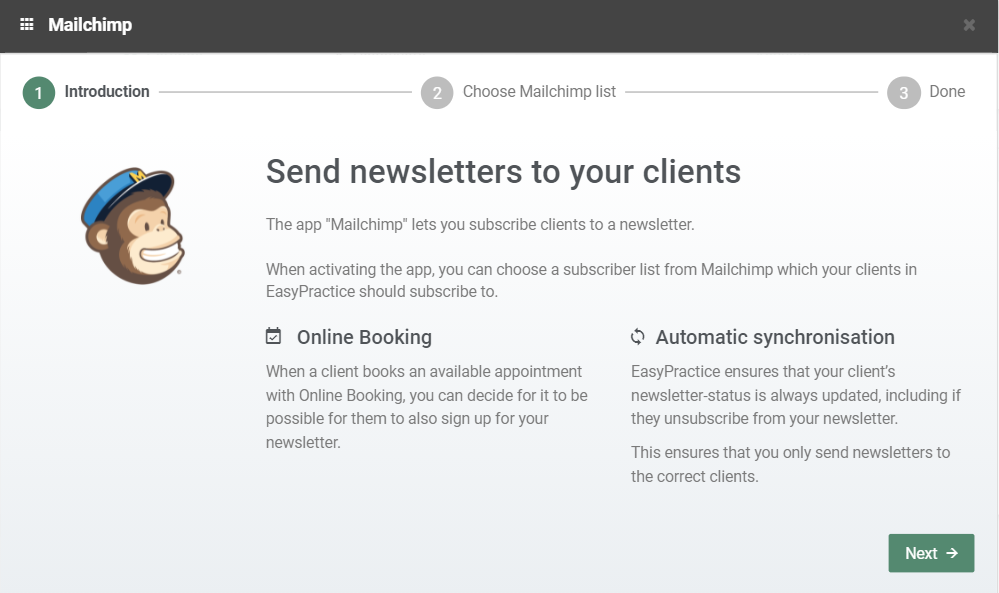
Start by creating a MailChimp account on https://mailchimp.com/ (if you don’t already have an account). Then return to your EasyPractice account to activate the integration in the ‘Apps’ menu. In the first installation step, you will find an overview of the app:
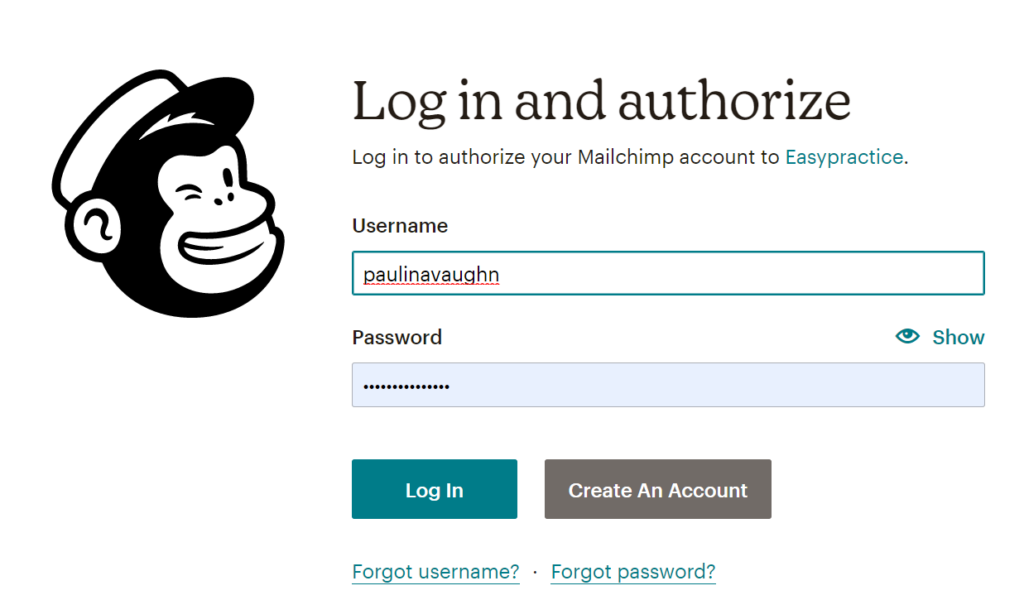
In the next step, you can choose which Mailchimp account you would like to integrate with EasyPractice. Simply log in to authorize your Mailchimp account to EasyPractice:
In the next step, allow access to your account by clicking on ‘Allow’. You will then automatically be redirected to EasyPractice again and the final step of the installation process:
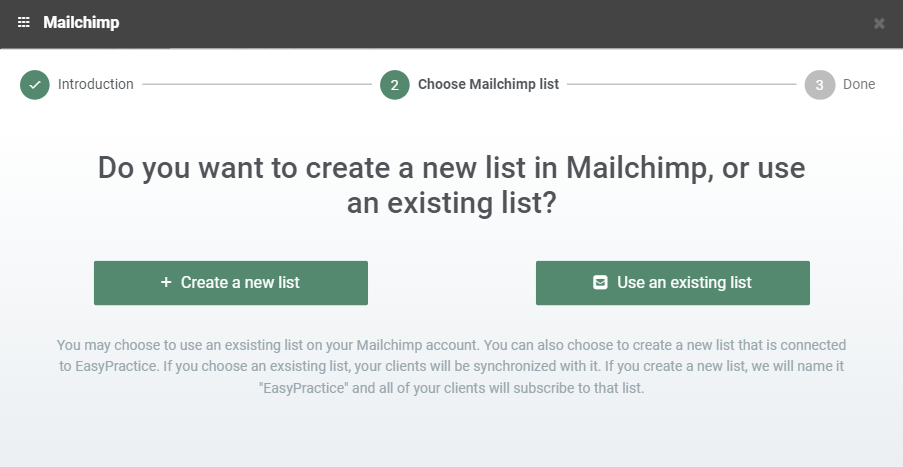
Here, you can choose between creating a new list of clients or using an existing list of clients. With the free version of Mailchimp, you can only have one email list in total. This is sufficient for most users, but if you want to send out different newsletters to different audiences or client groups, you need to upgrade your Mailchimp account. Now, importantly, one list is immediately created when you sign up to Mailchimp. Therefore, with the free version of Mailchimp, you will not be able to create a new list. Instead, choose ‘Use an existing list’ and choose the list that has automatically been created for you:
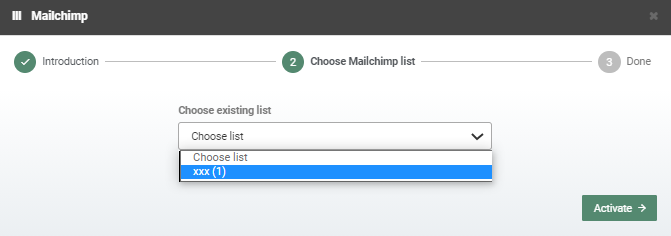
Then click ‘Activate’ to finalize the installation.
Create your first newsletter in Mailchimp
To create your first newsletter, log into your Mailchimp account. On the left side of the page, you will find the menu bar in Mailchimp. Two central settings are worth having a look at here:
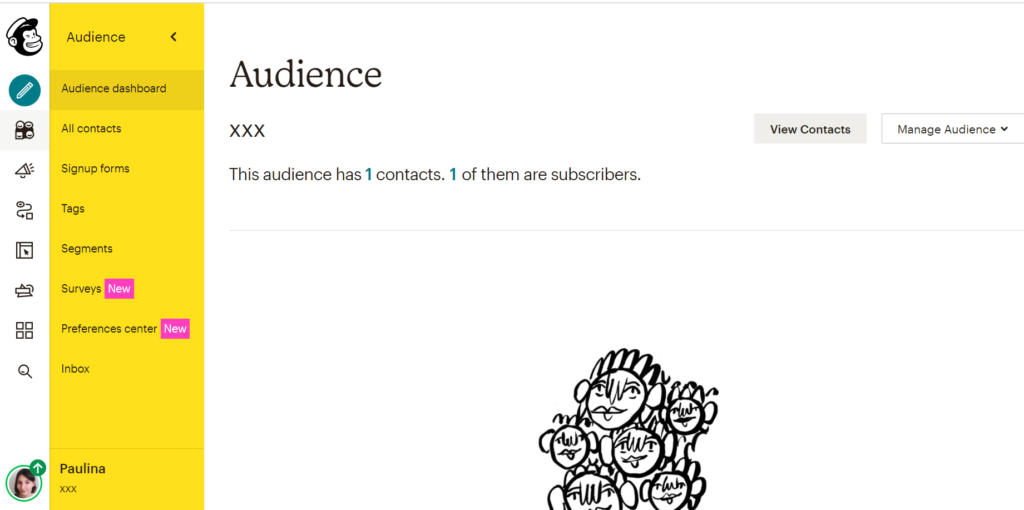
Audience: Here, you can check and manage your email lists, i.e. the lists of clients that have been added as subscribers to your newsletters:
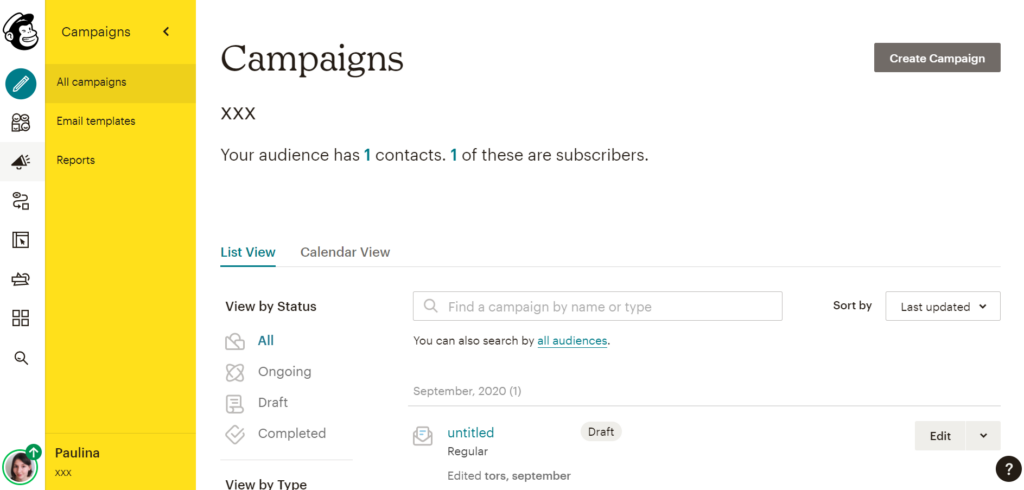
Campaigns: Under ‘Campaigns’, you can view all your newsletters and add a new newsletter by clicking on ‘Create campaign’ in the top right of the page:
Then choose ‘Email’ to create a newsletter:
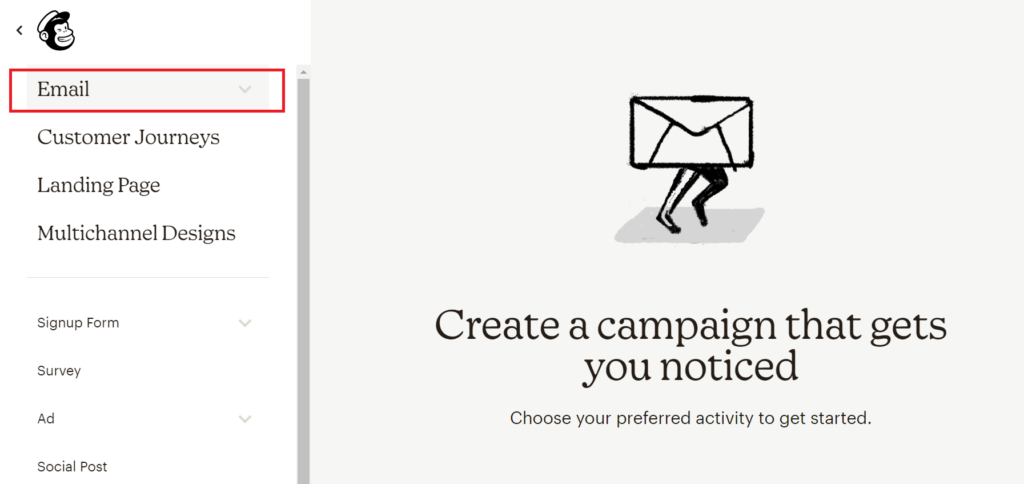
In the following steps, you will be able to name your campaign, add recipients, edit your sending information, and design the content of your email.
Manually subscribe clients to your newsletter
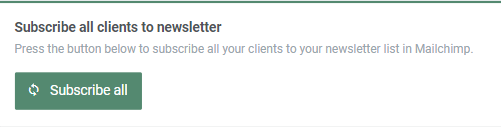
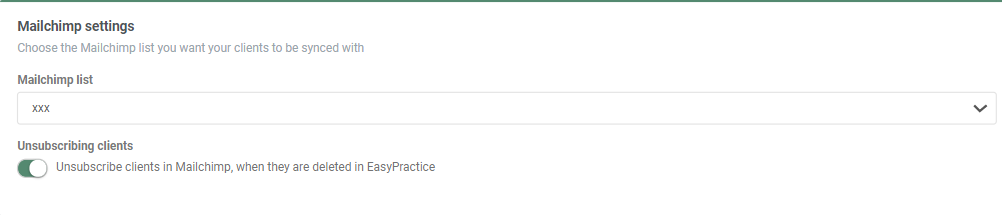
To subscribe all your clients to your newsletters, go to ‘Settings’ in the top menu bar and click on the Mailchimp app. Here, you will find a button that allows you to subscribe all your clients to your newsletter at once:
Note that new clients will not automatically be subscribed to your newsletter. Therefore, you need to update your lists regularly or let new clients subscribe to your list through your Online Booking (see the following section).
If you have more than one Mailchimp list, you can also choose which list your clients should be subscribed to and whether or not deleted clients should automatically be unsubscribed from the list.
Allow your clients to subscribe through your Online Booking
You can also allow your clients to subscribe to your newsletter when they book an appointment with you online. This function can be found and activated under ‘Settings’ –> Online Booking –> Other:
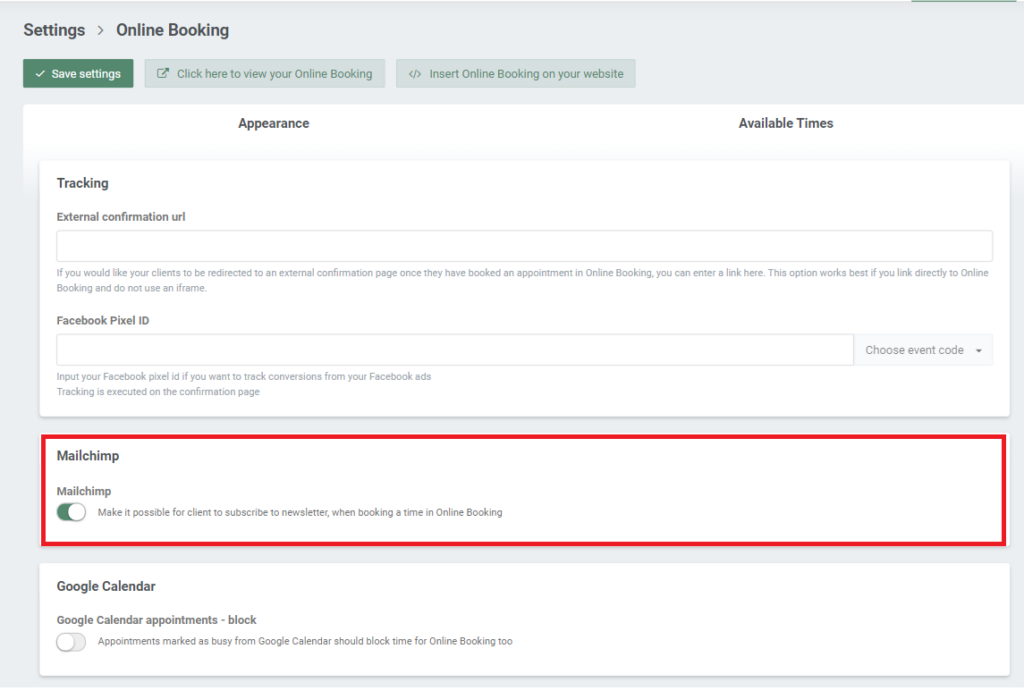
Note that it is currently not possible to make it mandatory for your clients to subscribe to your newsletter when they register on your Online Booking.