With our event booking functionality, it’s easy to arrange, manage and invite your clients to any type of events. Many of our users use it for yoga, coaching, training, and much more. Here’s a brief description of how you use it – we hope you’ll give it a go 🙂
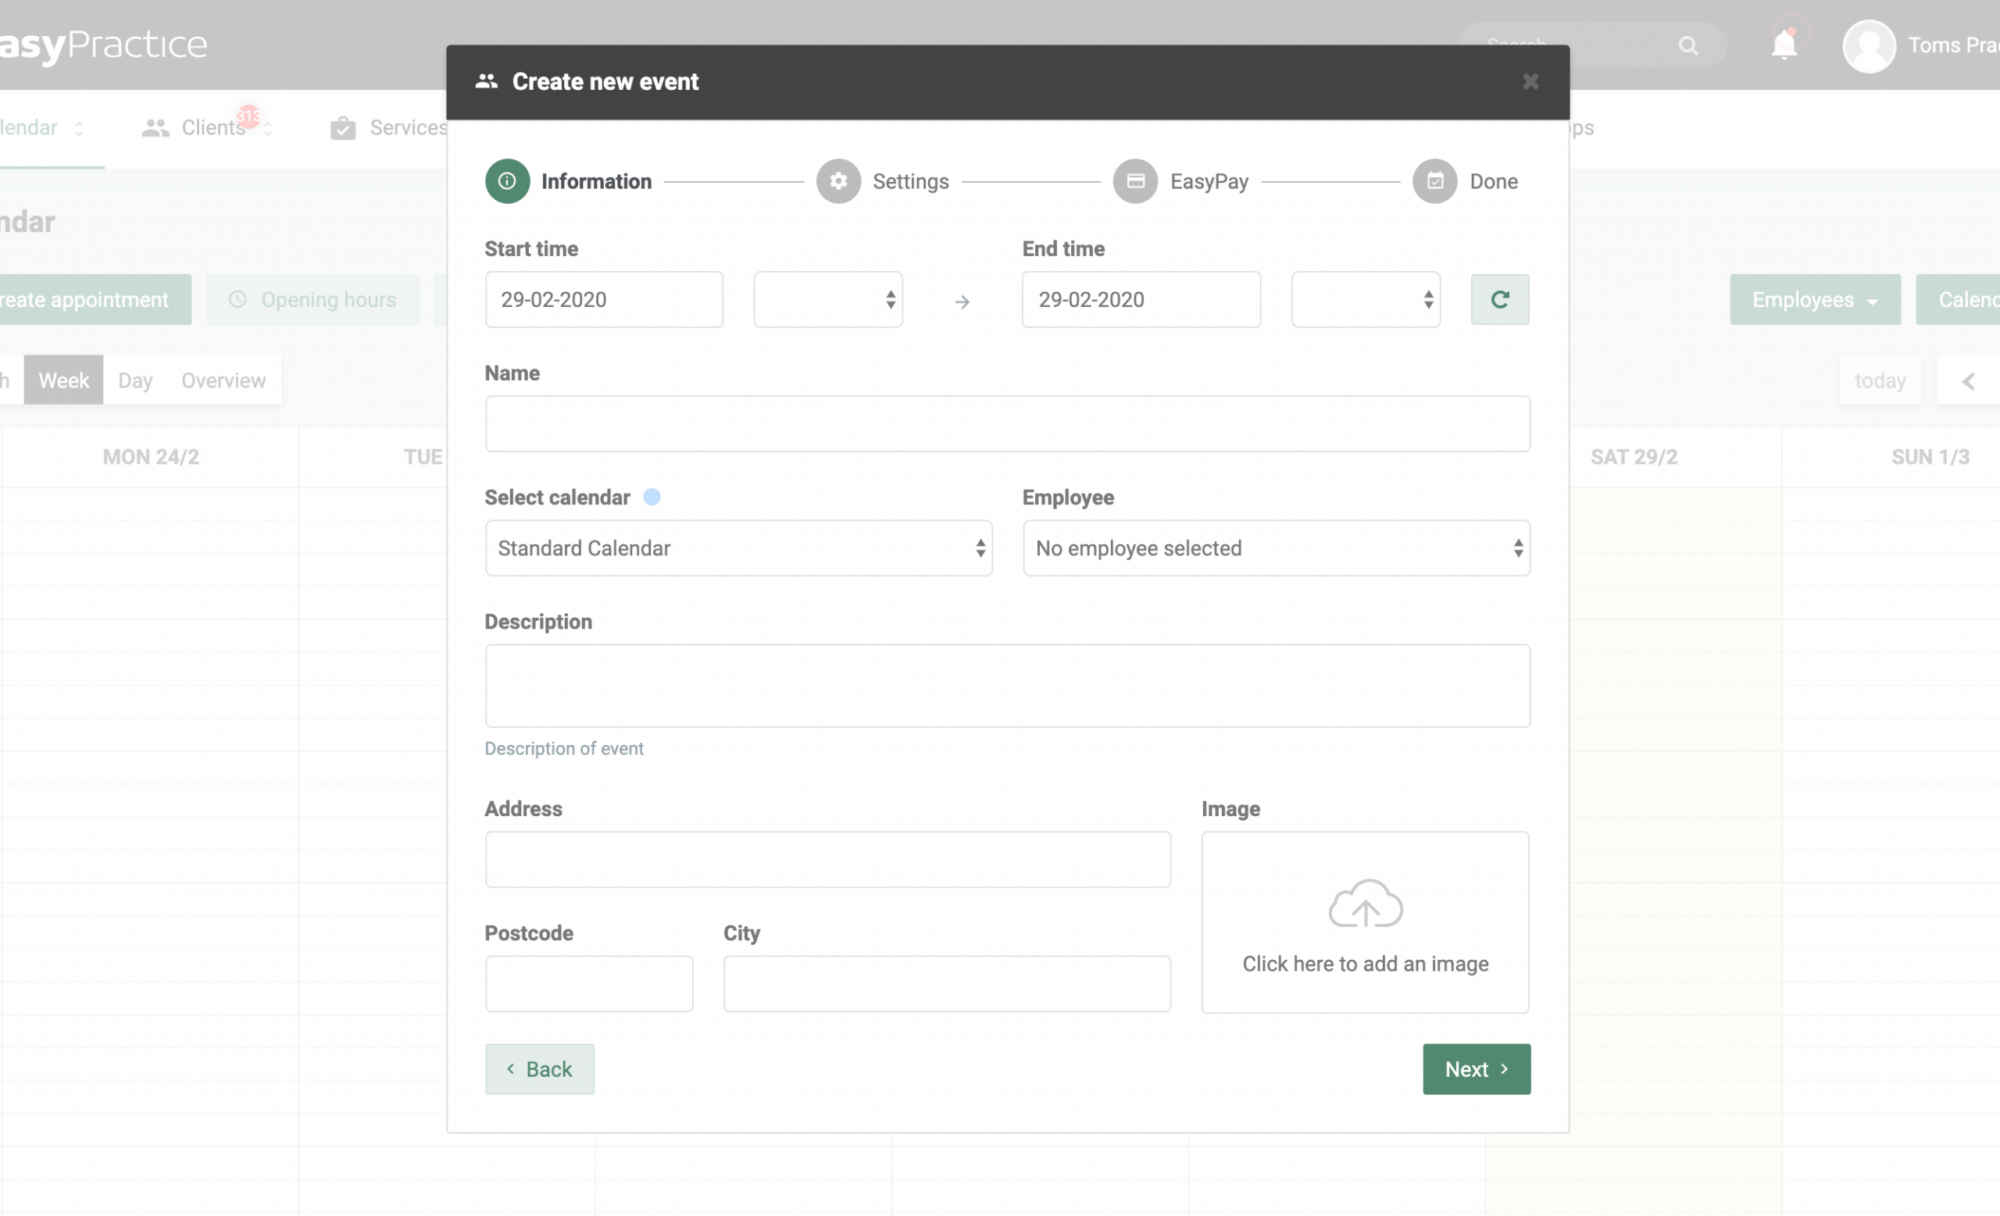
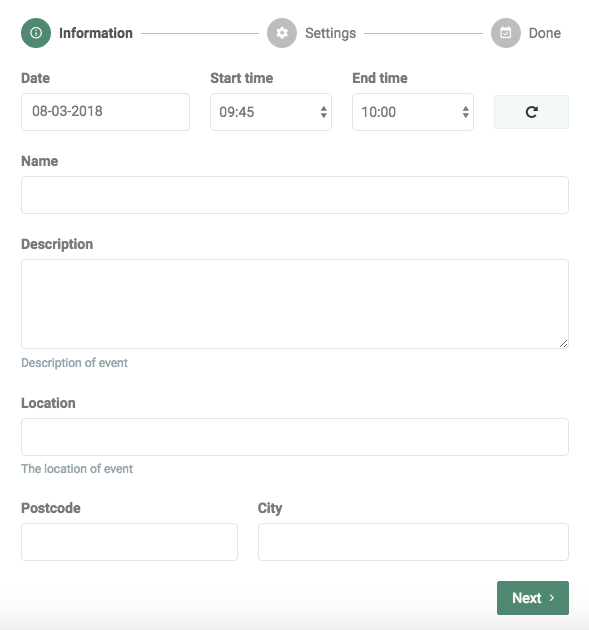
Go to your main calendar (first section), and simply left click on the day you want to arrange the event on – or hold in the cursor and mark the exact time period in the calendar. Choose ‘Create event‘ and fill out the following information:
If you now click on the event – the small colored square – you’ll be able to invite clients to the event, send out an email to all participants, and make three additional updates.
When all the information is filled in, you’ll automatically get a submit form. You’ll receive two links when you create events – the first one for the event that you’ve created/opened, and the second link gathers all of your future events. Notice the differences between the two in our examples right here:
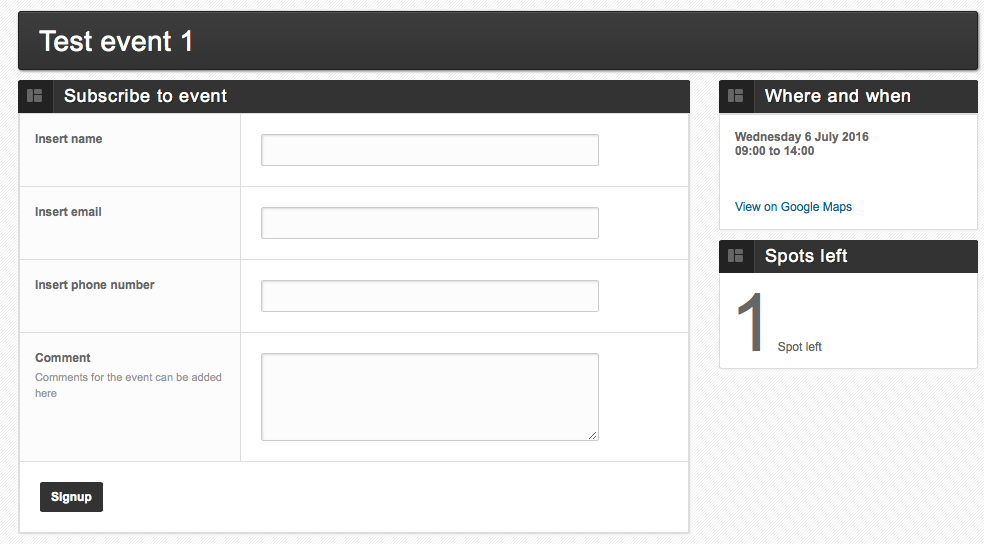
Example of an event
The second link can easily be integrated on your website if you want your clients to be able to view all your events. It’s actually similar to the online booking form – read more about it in this blog post. (LINK)
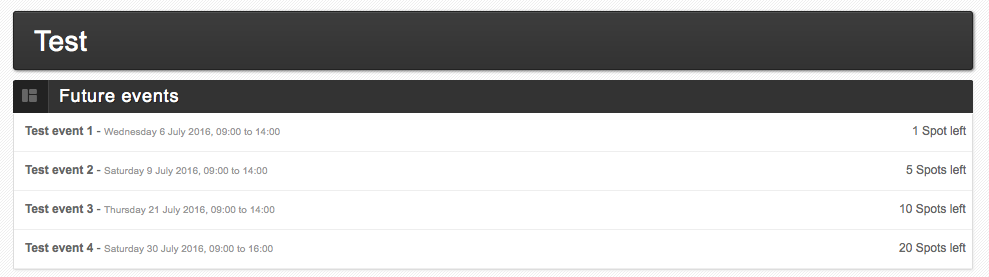
Example of an event booking form
In our Help Centre, we have a whole section dealing with Events.
Our email is [email protected] – so write us if you need any additional help with setting up your events. We’re really good at it 🙂
 alt tab and computer
  alt Online scheduling
  alt Create special Vouchers for your services