We’ve included a simple invoicing functionality in our online booking system, to ensure that anyone can figure it out. Why write them by hand, or use Excel, when it can be done in a few clicks, right? 🙂
You can actually create and send invoices in three different ways, and they are presented below.
1) Create invoices through the section called ‘Invoices’
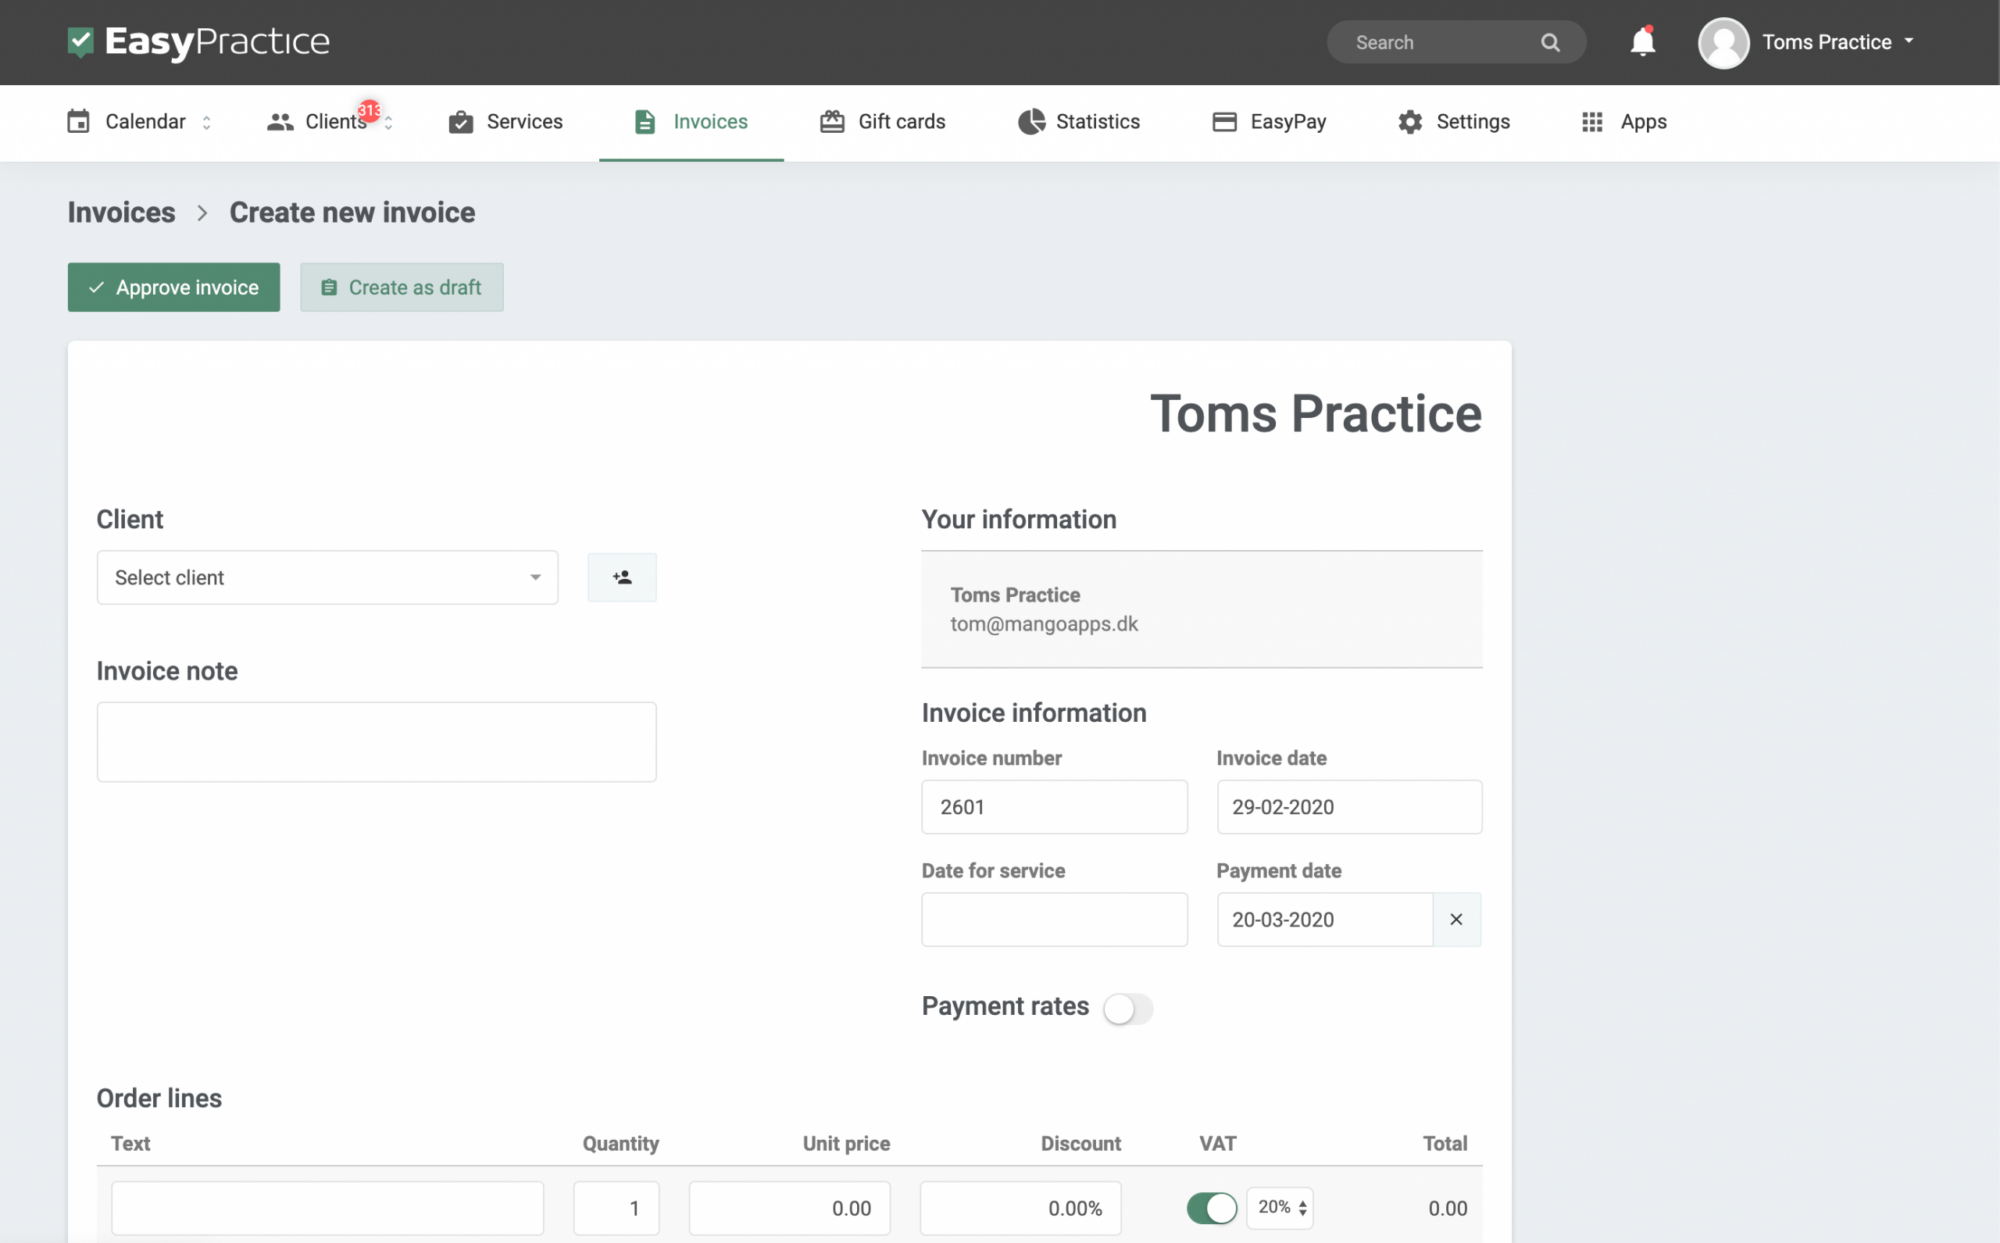
When you log in to EasyPractice, there is an entire section called ‘Invoices’. When you click ‘Create Invoice’ you’ll be able to choose which client it concerns and you’ll get an invoice that is editable. When the invoice is completed, you’ll have a PDF that can safely be emailed to your client.
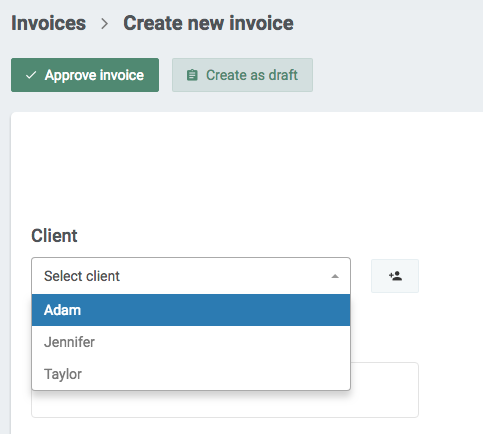
2) Create invoices through a clients’ profile
Another way to create invoices is to go to your clients’ profile in the section called ‘Clients’, and then the tab called ‘Invoices’. From here, the procedure is the same as before.

3) Create invoices through a booking
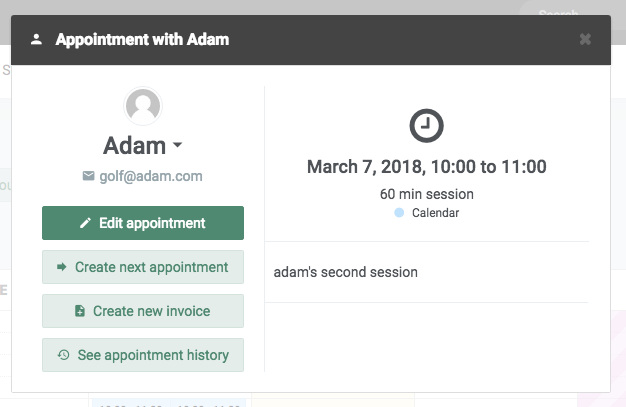
You can also choose to create invoices through the booking itself (the colored square) in your main calendar. Just click it, and you’ll be able to create an invoice as shown in the image below:
NB! If you go to ‘Settings’ and then ‘Invoices’, there are plenty more functions you can check out. For instance, you can edit the email that will be sent out along with the invoice, and chance the due date. You can also add your logo, which will be shown on your invoices.
In our Help Centre we have a whole section dealing with creating and sending invoices to your clients.
I hope this post has been helpful in showing you how to create and send invoices to your clients. Do you need any further help to set this up or have any questions about EasyPractice? Just get in touch at [email protected] where we’re ready to help!
Are you ready to make the leap into your appointment scheduling? Get free access to all these tools and a lot more!
 alt tab and computer
 alt Online scheduling
 alt Create special Vouchers for your services